Our site uses cookies to give you the best experience. or continue shopping if you're happy.
Accept & closeCrafts: Paper Lanterns
Get creative and make your very own paper lanterns for hanging around the home. The perfect spring decoration.

"I don’t know about you, but I like to change bits of decorations in my home on a “seasonal basis”. I’m always trying to come up with new ideas and little details that match the time of the year. Unfortunately, spring is keeping us waiting this year, but I thought I’d make a start anyway and have created a little garland of paper lanterns."
I just love the idea of having hundreds of them (though I haven’t gone that far for this tutorial) hanging outside on a warm Summer evening. Anyway, if you fancy making one of these garlands, then here’s how. You can, of course, make it as long as you want, and if you do make a mile-long one, please make sure you’ll let me know!
Here's what you'll need...
- 1 Dovecraft paper pack 8×8″ available here
- Parcel string (or any other string you might prefer)
- PVA glue and a paint brush to apply it
- Pencil
- Ruler
- Craft mat and craft knife
- Stapler
Here's how it's done... Step 1
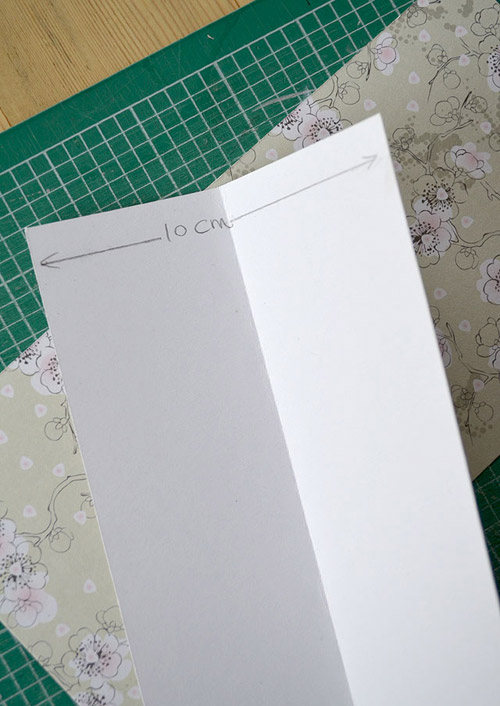
Cut a sheet into half and then fold that half again into half along the length. This will give you a piece of about 10 x 20cm with a sharp fold along the middle.
Step 2
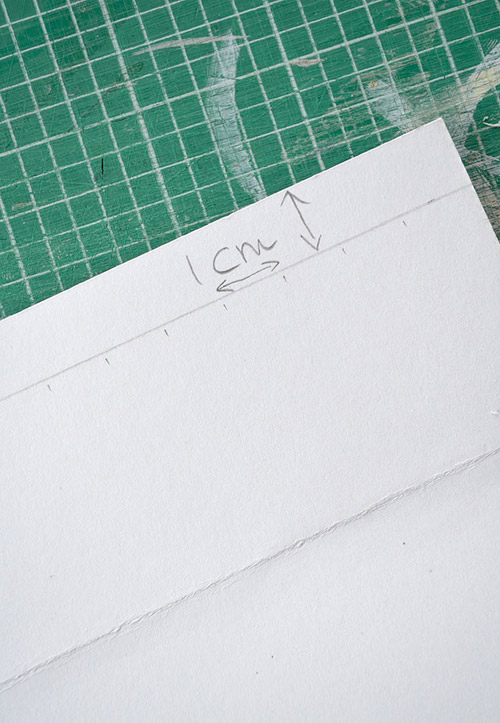
Measure 1cm from each edge along the long side and mark along the whole length.
Step 3
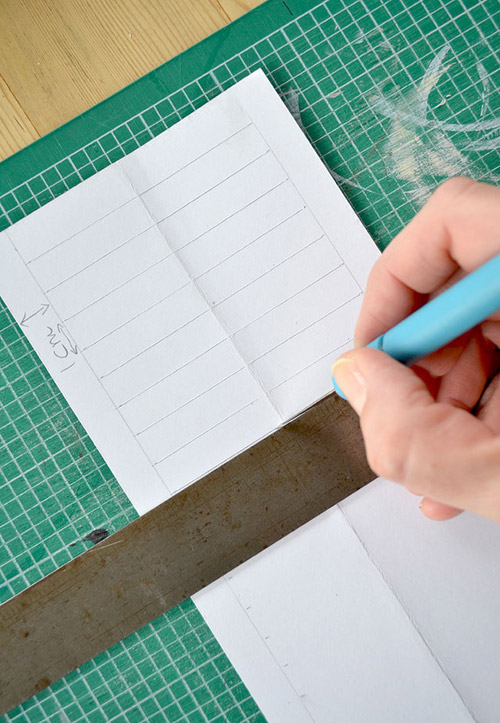
Now measure 1cm increments along the long lines and mark these.
Step 4
Using your craft knife and ruler, cut straight lines (using the 1cm increments as a guide) between the two long lines.
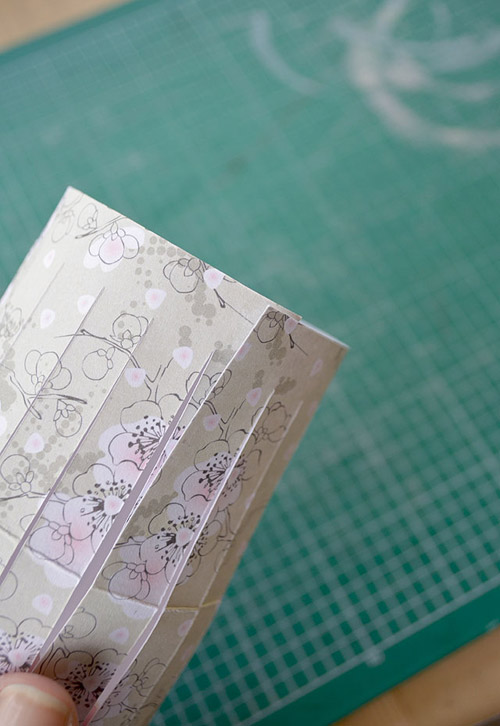
Next, apply some glue along the front of short edge and bring the other short edge round to stick it on top.
Step 5
Using another (contrasting) two sheets, cut two 1cm strips for each lantern.
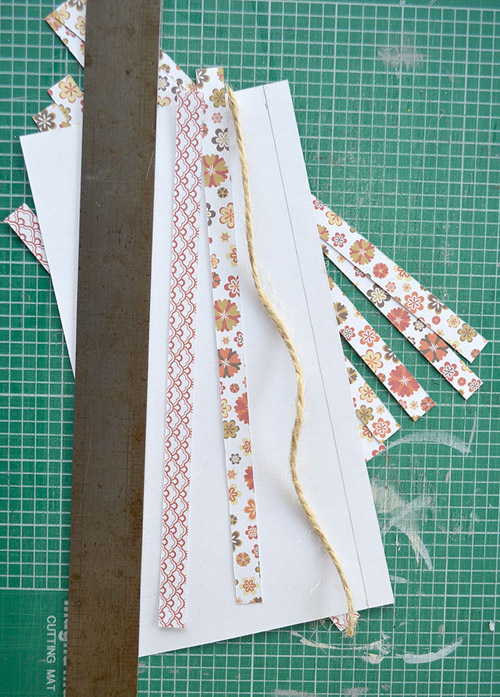
Step 6
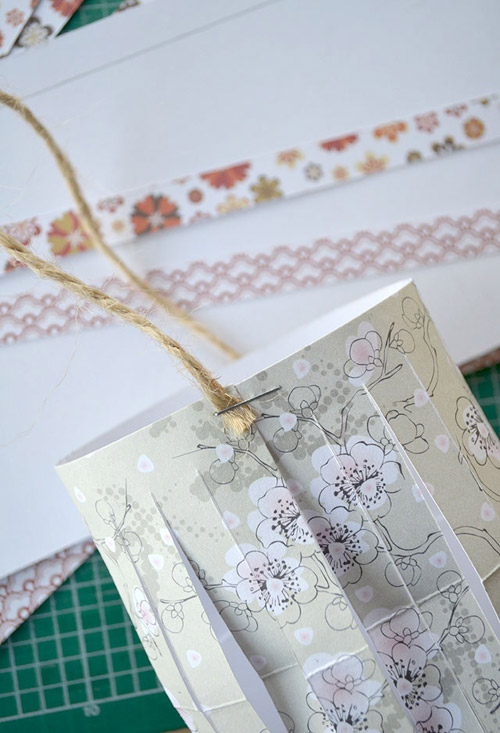
Cut a piece of the parcel string the same length (10cm).
Now staple the ends of the string to the top of the lantern. Press it lightly together to ensure they’re evenly “centred”.
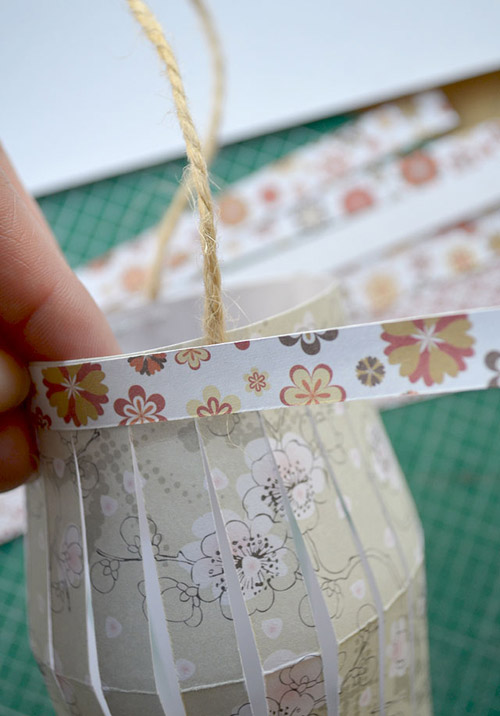
Step 7
Take the 1cm strips, apply some glue to them and wrap them around the top and bottom of the lantern.
Step 8
Cut a length of sting to hang the lanterns on and secure each with a simple knot.
As a rough guide, leave about 10-15cm between two lanterns.
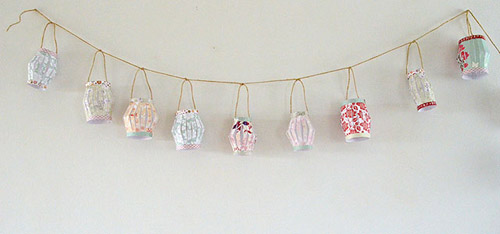
That’s it. I hope you’ll like it and it will cheer you and your home up in time for some glorious Spring sunshine!