Our site uses cookies to give you the best experience. or continue shopping if you're happy.
Accept & closeSpring Cleaning – Home Refresh
Ready to breathe new life into your home? We're sharing 12 creative, low-cost steps to a winter home refresh!

Congratulations – you’ve made it through another year, no doubt full of highs and lows and the prospect of a fresh, shiny new year stretches ahead of us like a blanket of untrodden snow. But if you’ve removed your Christmas decorations from around the house, there’s no doubt that you might be feeling a little bit down. Yes, the new year feels fresh and different, but your home? Well, it looks like it did before the festivities began. And that can be a bit of a downer. You might also be feeling the pinch of a budget stretched too far over the holiday season, and although you might like to redecorate, perhaps you just can’t justify the spend right now.
Well, today I’m going to show you that you don’t need to spend much (or any!) money to give your home a bit of a shake up. Consider them my 12 tips to give your home a winter refresh. You shouldn’t need more than a weekend or two to start the new year with a home that feels as fresh as the new year.
Clean
Start with a good deep clean of your home. Check out our Cleaning Checklist to make sure you’ve covered everything, but while you are cleaning, remove all the small accessories from the surfaces for Step 2 below. Carry a microfibre dust cloth in your hand as you go and as you pick each item up, give it a thorough going over. Don’t forget the inside glass of your windows as well. Use a combination of vinegar and water in a spray bottle and give every window a good shine using newspaper (it doesn’t leave behind any lint and is environmentally friendly, too). You really want to let as much light into your home as possible, as the days are shorter.
Clear
I normally clear a large surface to ‘house’ all those small accessories from Step 1 – generally my dining table. Collect all of these smaller items – small picture frames, ornaments, vases, accessories and put them all together. This will make it much easier to see what you have when we get to Step 7. But we have bigger fish to fry at this moment in time so we’ll come back to these!
Move
Now it’s time to have a look at your furniture placement. You may have not moved your furniture around since you moved in, but perhaps a different placement might make your home flow better. You could even consider changing whole rooms around (would your dining room be better suited as a living room and vice versa?). If you have a larger space to play with, consider moving furniture away from the walls to create more intimate conversation areas and a more interesting layout.
Renew
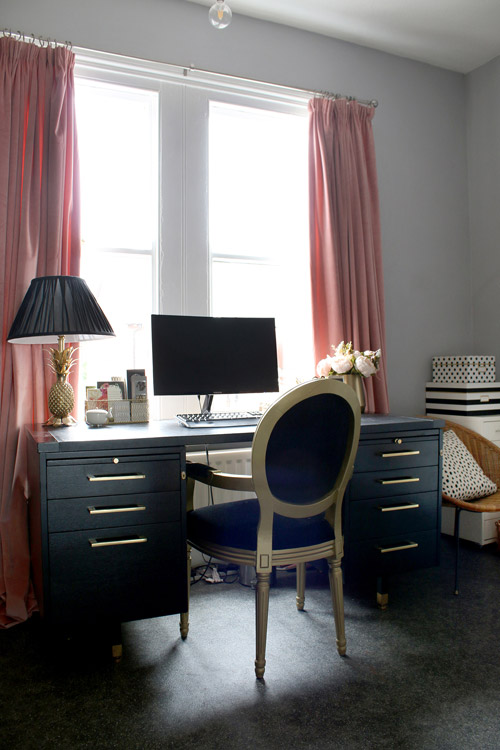
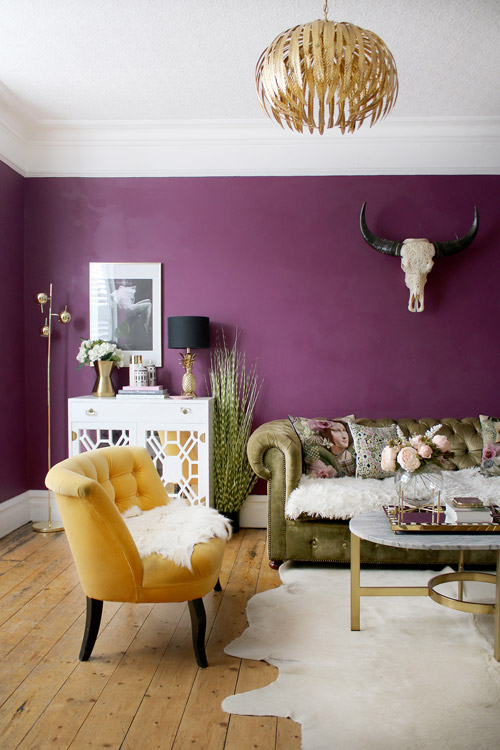
Have a look at the furniture now itself. Is it looking a bit tired or worn? Can the old sideboard you inherited from your parents do with a good sanding and staining? Could you give your coffee table a new look by painting it a different colour? If the lamps you have in your living room are looking a little old-fashioned, could spray-paint and new fabric covered shades make them new again?
Swap
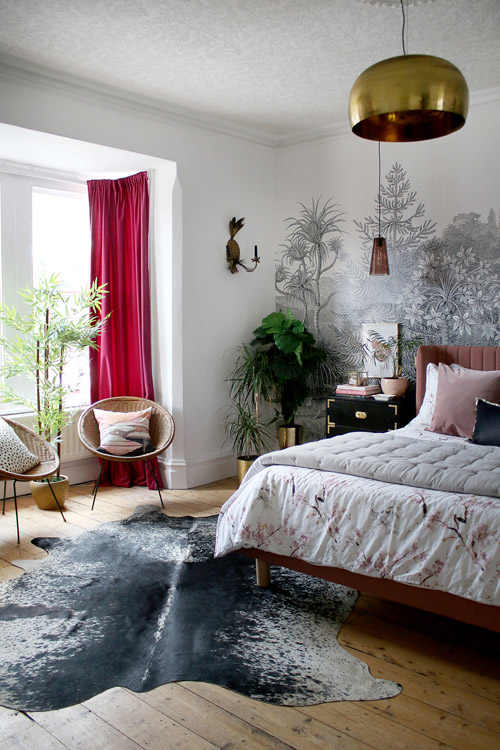
Now have a think if there are things like curtains, lighting, textiles or artwork that might be better placed somewhere else. Perhaps the rug in your dining room might work better in a bedroom? Would the curtains in the 2nd bedroom refresh the master? I have often swapped simple pendant lamps from one room to another (obviously this is more complicated for lighting that’s wired in but pendant shades are simple to remove and change when there are no electrics to mess around with). Even hanging a picture in a different space can give a room the lift it needs.
De-Clutter
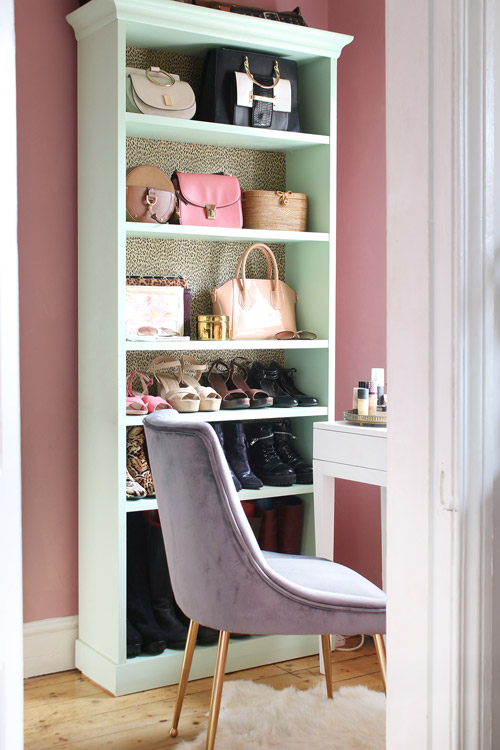
Like everyone out there, you probably have too much stuff. Now is the time to decide what’s staying and what’s going. Have a good hard look at rooms where there’s simply too much clutter (home offices, bedrooms and kitchens seem to be the worse culprits for this) and separate out in 4 different piles: the items you are happy to keep and use, a pile for charity, a pile for repair/refresh and a pile for the tip! Be ruthless! If you’re having issues with deciding whether to keep something or get rid of it, invite a friend you trust around to help you go through it and keep you on track. And then take those items marked for removal to their final destinations!
Edit
It’s time to go back to the small accessories and decorative items that you left on your dining room table from Step 2. Are there items in your collection that simply don’t work anymore for your chosen style? Are you keeping things because you’ve had it for so long that you no longer notice it’s a bit tacky or just doesn’t work with your decor any longer? Another lesson in being ruthless – it’s time to let go of those small things you no longer genuinely love. If you can’t bear to part with something for sentimental reasons but it really doesn’t work with your current decor, then carefully wrap it up and store it until your next refresh or change it with spray paint. Whatever you do, don’t put it back up on your surfaces without careful consideration.
Collections
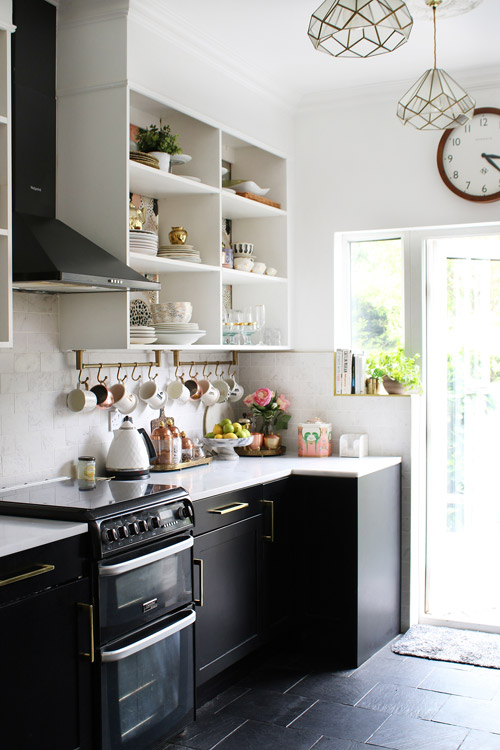
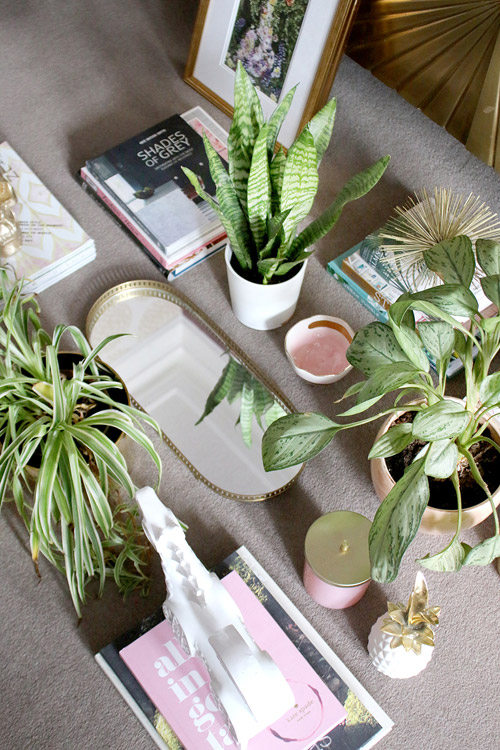
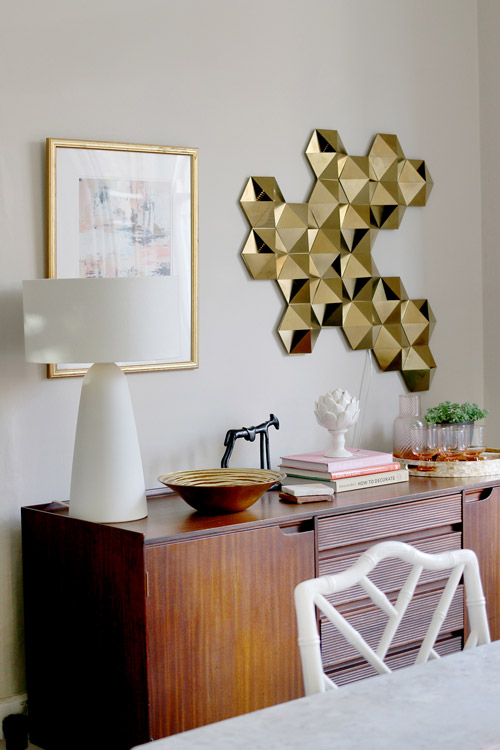
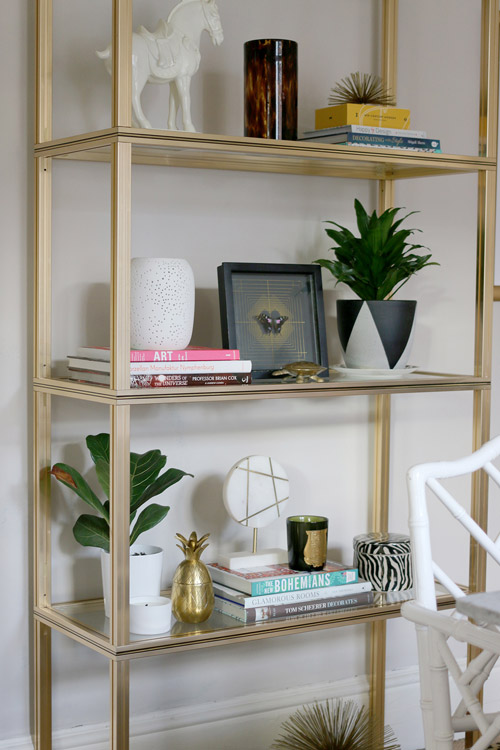
You may find when you view all your items at once that you have a small (or large) collection of objects that are similar to one another. Consider displaying them in a single setting rather than spreading your collection around. The look will be more purposeful and really have impact when viewed all at once. This works well with pieces of pottery, ceramics and glass but really, even if it’s vintage toys, creatively displaying your collections will share a bit of your personality with guests.
Create
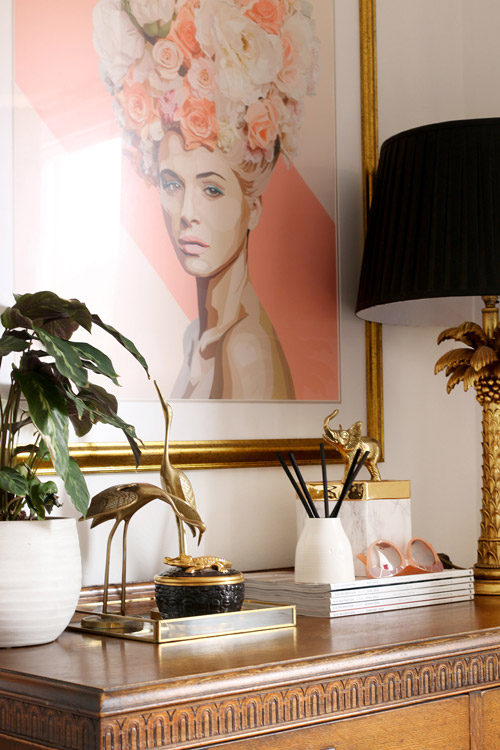
Now it’s time to create some vignettes with your smaller accessories. Layer your items from tallest at the back to smallest at the front to create interesting displays. Normally objects look best displayed in odd numbers so use this trick to your advantage. Consider layering smaller artwork or prints leaning on a table with smaller objects displayed in front of it. And ensure you use different heights, widths and textures – that variation allows your eye to move over a display naturally.
Gather
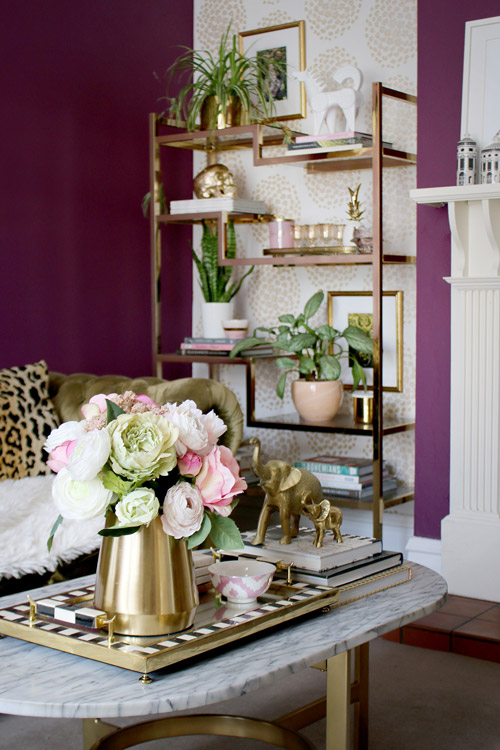
For smaller items, use trays to corral the items together to create a purposeful look. In the bathroom, a small tray under perfumes or jewellery will create an attractive display of items. On the coffee table, use stacks of books and perch smaller decorative items on top.
Life
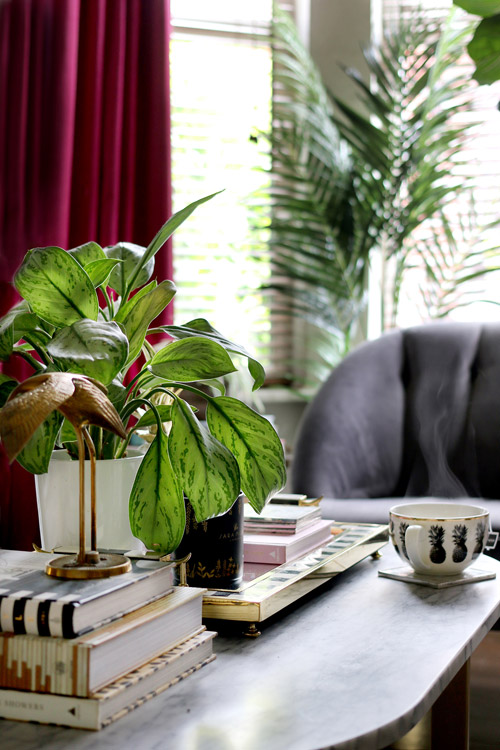
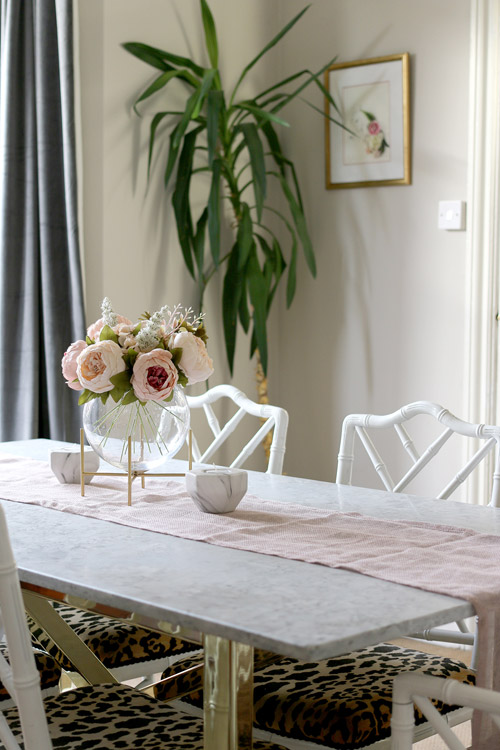
Finish off your vignettes with fresh blooms or houseplants. You will rarely see a picture of an interior in a magazine without a display of some kind of life! Plants and flowers add so much to a room and really make it look lived in and loved. The scent of fresh blooms renews a space and houseplants look beautiful displayed en mass – vary the leaf types together for the most effective displays.
Balance
There is an art to balancing your home – too much clutter and it will look overwhelming and too little on display and your home could risk looking cold. Find the right balance for your home and your lifestyle by letting the things you chose to keep “breathe” in the space. Continue to edit your collections throughout the year to keep your home looking fresh and new in your eyes.
I hope you enjoyed my tips today for giving your home a whole new look without having to spend a lot of money! What tips would you add? Anything I’ve missed? I’d love to hear how you keep your home looking fresh each year.