Our site uses cookies to give you the best experience. or continue shopping if you're happy.
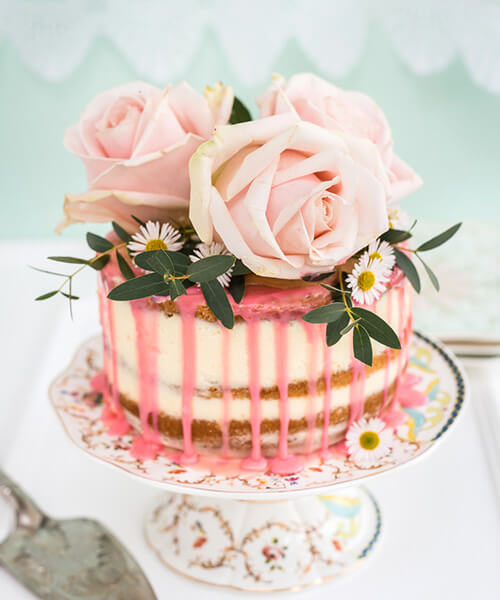
Accept & closeVanilla Drip Cake
Drip’ cakes are so fashionable these days and – good news – they are easy to create at home.

Difficulty
Easy
Serves
10 people
Prep Time
10-20 minutes
Cooking Time
22-25 minutes
Here I have used a simple vanilla sponge sandwiched with mascarpone frosting to show off the pink drip and beautiful crown of blush roses.
You can customise the colour of the drip and flowers to suit the theme of your celebration. Just be sure to use the right kind of food colouring (see ingredients below) as not all are suitable for using with chocolate. Jazz the cake up by adding different extracts and flavourings, as well as fresh fruit between the layers.
Make sure you use unsprayed flowers and foliage to decorate the cake – you can pick your own or ask your florist for suitable options. Alternatively you can use the flowers around the base of the cake or use fresh fruit instead.
Here´s what you´ll need...
For the cake
- 170g plain flour
- 170g caster sugar
- ½ tbsp baking powder
- ½ tsp bicarbonate of soda
- ¼ tsp salt
- 100g unsalted butter, cubed
- 2 large eggs
- 100ml whole milk + 1 tsp lemon juice
- 1 tsp vanilla extract
- butter and flour to grease the cake tins
Here´s what you´ll need...
For the frosting
- 300g full-fat mascarpone cheese
- 200ml double cream
- 200g icing sugar
- 1 tbsp vanilla extract
And here´s what you´ll need...
For the drip and to decorate
- 60g white chocolate, finely chopped
- 60ml double cream
- small drop gel food colouring (such as Americolor)
- unsprayed fresh flowers and foliage to decorate
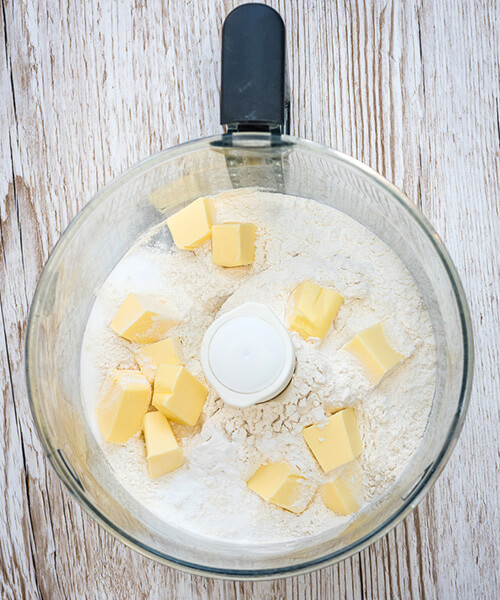
Here´s how it´s done... Step 1
Preheat the oven to 180 C (160 Fan). Grease 3x15cm/6in baking tins and line the bottoms with greaseproof paper. Grease the paper, dust with flour and shake out any excess.
Put the flour, sugar, baking powder, bicarbonate of soda and salt in the bowl of a food processor fitted with a metal blade. Pulse briefly to combine and add the cubed butter.
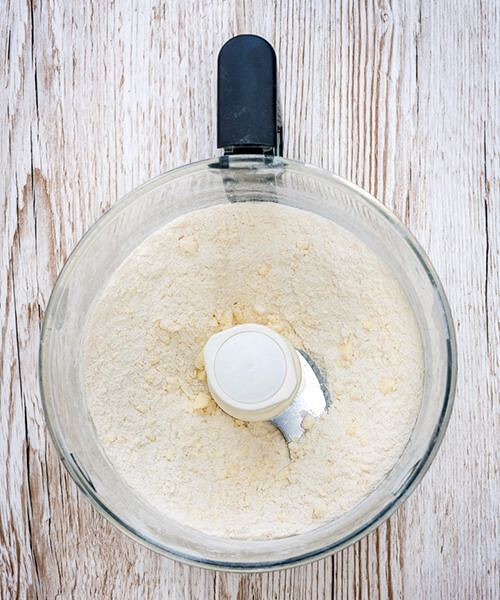
Step 2
Pulse again until the the mixture resembles breadcrumbs.
Step 3
Add the eggs and mix for a minute until combined. You might need to scrape the sides of the bowl to ensure everything is combined.
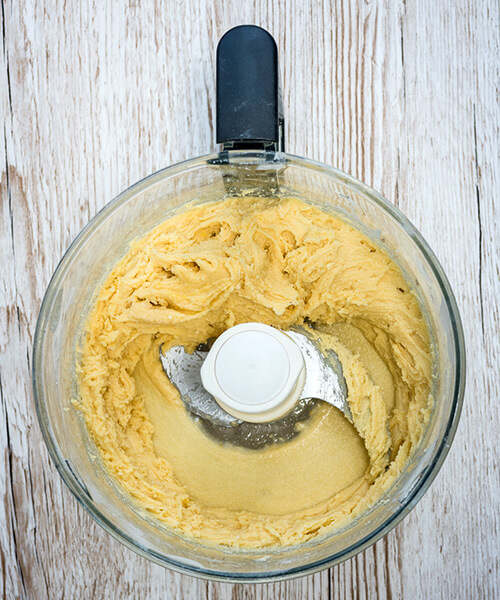
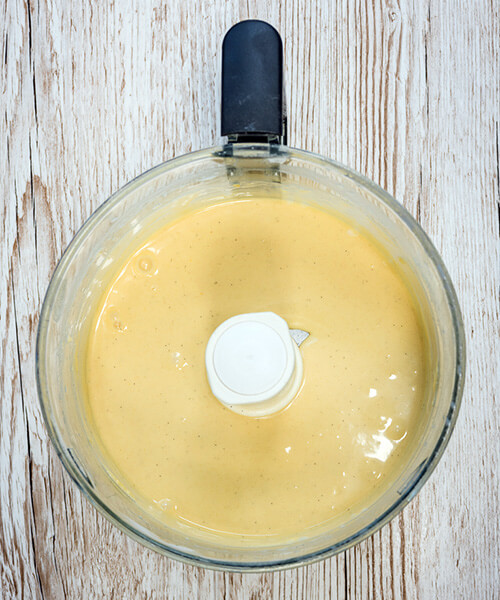
Step 4
Add the milk and vanilla extract and process for 2-3 minutes, stopping the machine and scraping the sides of the bowl, until the batter is completely smooth.
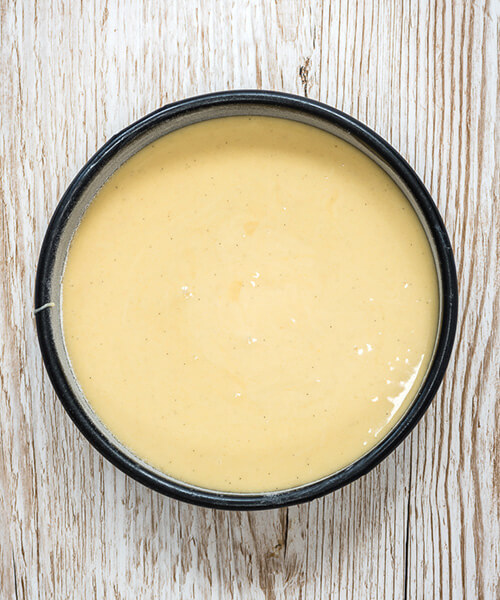
Step 5
Divide the batter evenly between the baking tins and bake for about 25 minutes or until a tester comes out clean and the cakes are springy to the touch and coming away from the sides of the tin. Cool on a wire rack for 10 minutes, then turn out to cool completely.
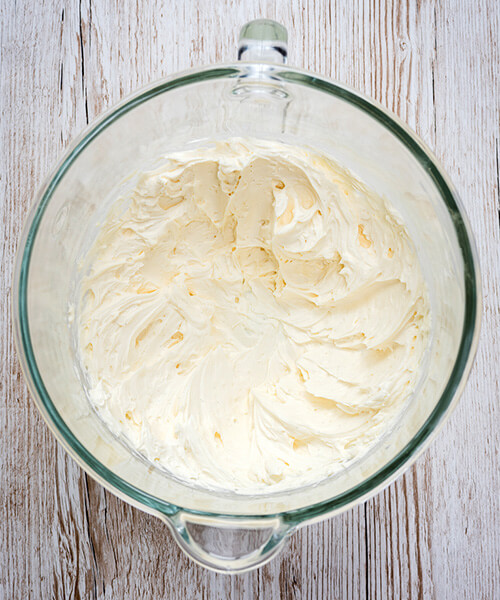
Step 6
Put all the ingredients for the frosting in the bowl of your stand mixer. Mix on low speed to combine. Increase the speed to maximum and mix for a minute. Stop and scrape the sides and bottom of the bowls and mix again util you have firm peaks. Transfer to a piping bag fitted with a large tip.
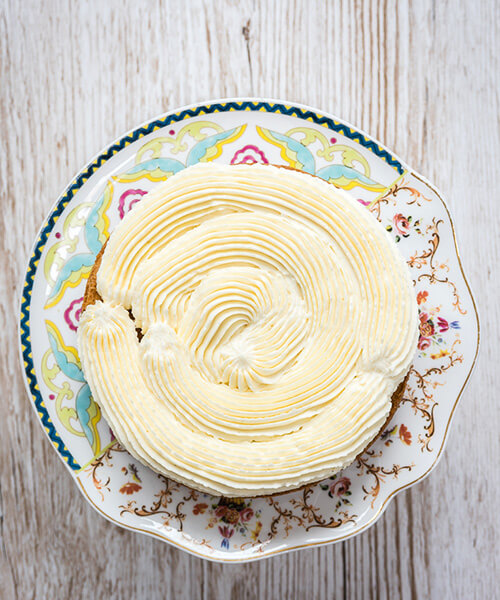
Step 7
Dab a little frosting on the cake stand and secure the bottom layer on it. Pipe an even layer of frosting over the bottom cake layer.
Step 8
Repeat with the second layer and sandwich with the third.

Step 9
Add some frosting on top of the cake and use a pastry scraper to smooth outwards and over the sides of the cake. Continue to smooth the frosting, adding more if necessary, over the sides of the cake leaving the sponge showing through for a ‘naked’ cake effect. Chill the cake in the fridge for 30 minutes. If you wish you can cover the cake completely with the frosting at this stage.
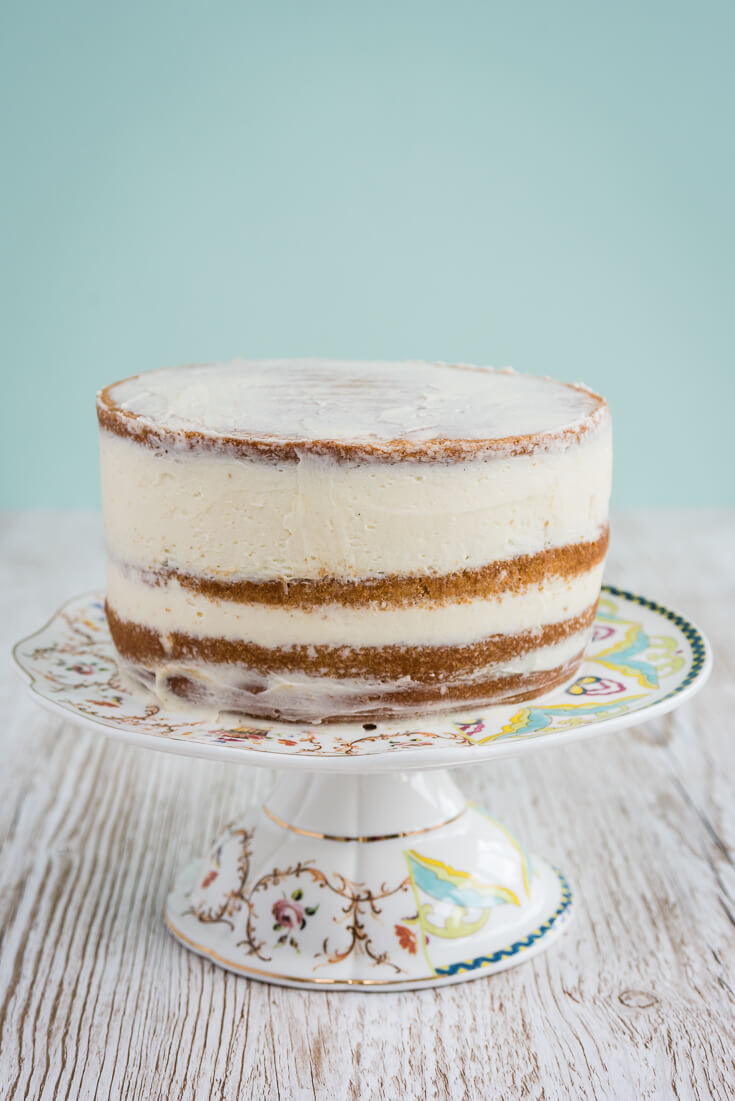
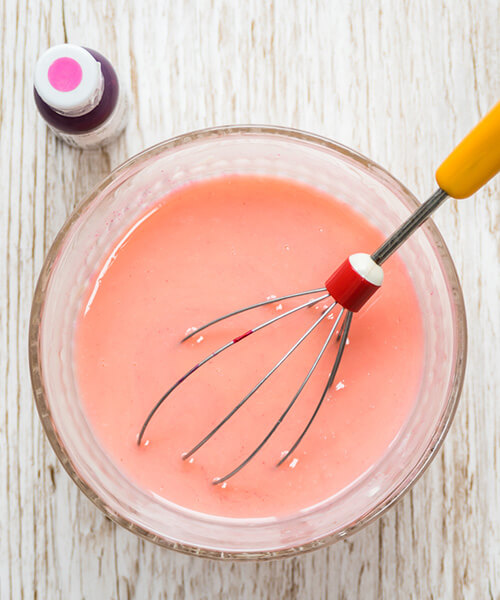
Step 10
Combine the cream and white chocolate in a bowl and microwave on medium setting for 20 second bursts, stirring, until completely melted and smooth. Add a small drop of food colouring (I used Americolor in electric pink) and stir until mixed in. Adjust the colour until you are happy. Leave to cool slightly.
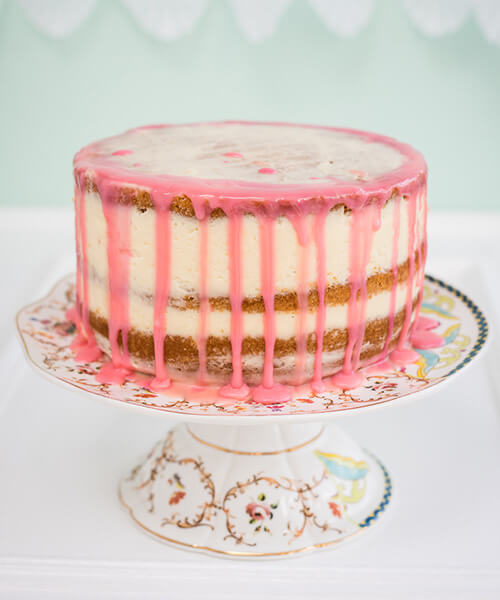
Step 11
Use a spoon or squeeze bottle fitted with a small tip to slowly drizzle the chocolate around the perimeter of the cake, letting it drip down the sides. This is best done on a cake turntable.
Step 12
Add a dollop of frosting on top of the cake and then secure a circle of baking parchment cut slightly smaller than the cake. Add more frosting over the paper and then arrange the flower decorations on top. This way you can easily remove them when the time comes to slice the cake.