Our site uses cookies to give you the best experience. or continue shopping if you're happy.
Accept & closeDIY: Make Your Own Bath Panels
Transform your bath with our tutorial!

We’re in the process of making a few changes to our bathroom at the moment – mostly little things, but also the rather big thing of re-tiling (with the permission of our marvellous landlord, of course).
I wanted to write about a few of the little things, because they’re good tips for quick and easy bathroom makeovers that should work for many renters as well as homeowners.
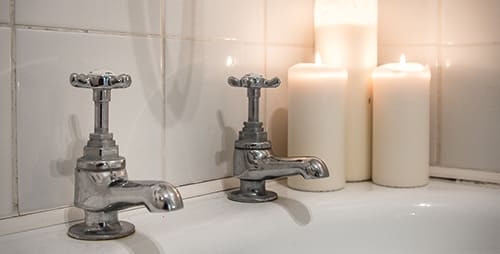
Originally I had three parts to this mini makeover series, but one of the ideas – changing the bath taps – turned out to be such a monumental effort that I can't in all conscience recommend it. Seriously, it took hours, and from what I’ve read on DIY forums, we had it easy, and miraculously avoided damaging the bath. The new taps do look fab, but they made a considerable dent in our sanity.
So it's only going to be a two-parter. The second part will come later in the Summer – today's post is about making your own bath panels.
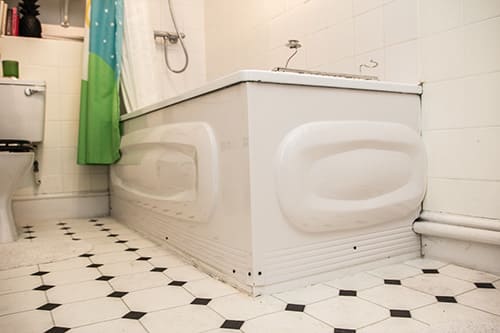
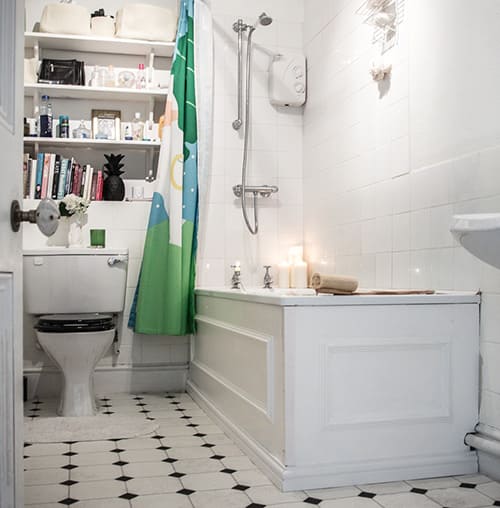
We're lucky to have a fantastically spacious cast iron bath, but it did have some rather pedestrian plastic panels.
As we're redecorating the bathroom in a more traditional, Victorian style, we decided the bath needed some classic panels that would match the door and give an elegant edge to the room.
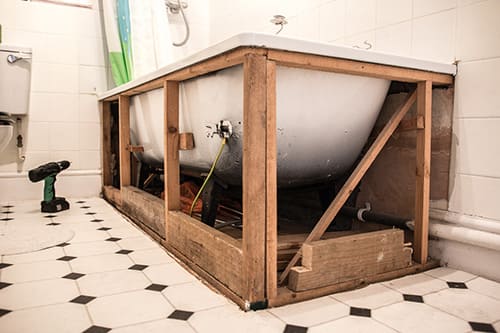
If you’ve got a panelled bath you should find that there's a wooden frame underneath them, which you can easily screw the new panels into. There are lots of panels available to buy, but they can be expensive and I found that none of the standard sizes fit our bath anyway.
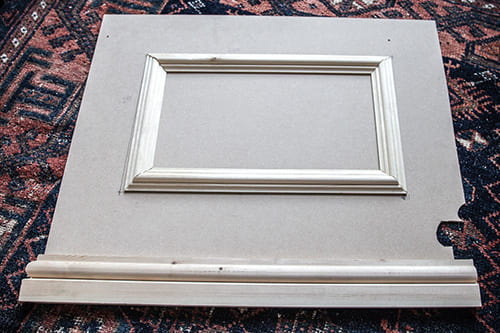
First step is to design your new panels. We went for a panelled look using moulded pine trim glued onto mdf boards. There are all sorts of variations on this theme, depending on how elaborate you want to go. You can get mdf matchboard if you want that country tongue and groove look, and several different styles and heights of skirting.
You can use mdf or ply for the boards of the panel, but it’s very important – especially if the timber isn’t water resistant – to paint it with several layers of primer, undercoat and waterproof topcoat (i.e. satin or gloss). If you’re using mdf you need to paint the edges as well, to stop moisture ingress causing the fibre to swell.
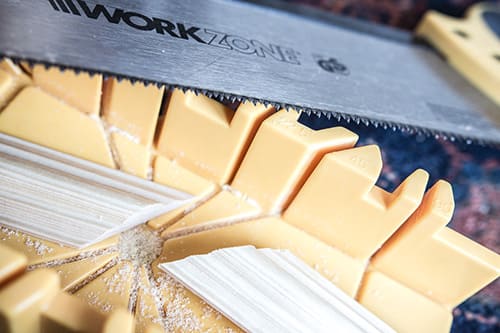
We used a 3mm mdf board and had them cut to size at the DIY shop on their panel saw – makes all the difference for getting those clean, straight edges. We chose 41mm moulded pine panelling for the decorative panels and a torus skirting at the bottom.
We then cut out the openings we needed for the plumbing (which you may or may not need to do) and carefully measured the size and shape of our panels. Remember – measure twice, cut once!

We cut the pine panel moulding and skirting using a mitre box for a neat finish, then glued the panels to the pencilled rectangles on the board. We left attaching the skirting til the end, for reasons that will become clear.
Next stage was to paint, which took a few days as we waited for each layer of primer, undercoat (x 2) and top coat (white satinwood, 2 coats) to dry.
Now to fit the new panels.
We added the skirting at this point (with wood glue and panel pins), to make sure that it was flush where it needed to be on our uneven floor. We finished the corner edges with the plastic edging from the old panels, painted with the same satinwood as our new ones. The screws were disguised with white plastic screw covers.
All in all, the new panels cost about £30 (not including the paints and screws, which we had already from previous projects). Not bad for such a dramatic new look!
Do you have any easy DIY tips for a bathroom makeover?