Our site uses cookies to give you the best experience. or continue shopping if you're happy.
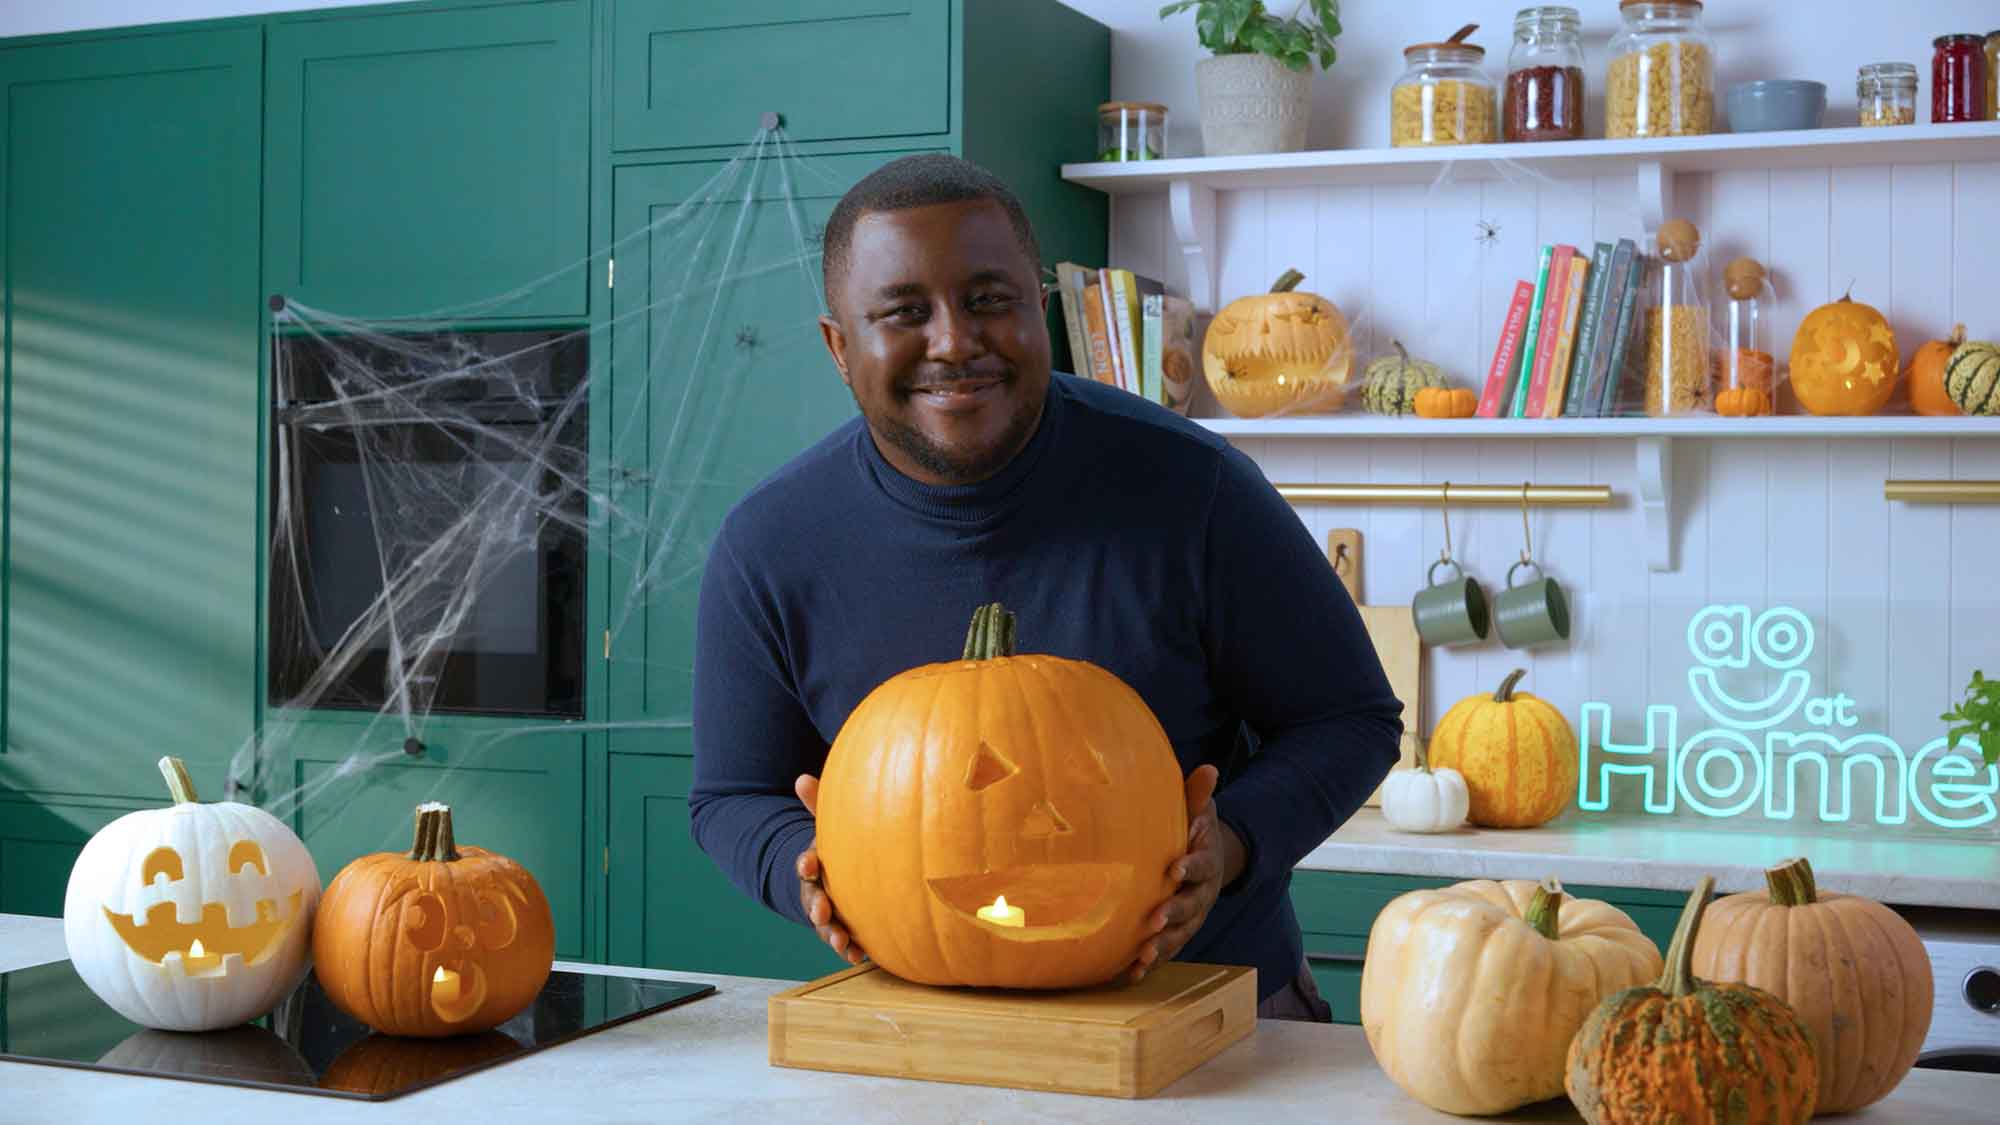
Accept & closeHow to carve a Halloween pumpkin: stand mixer edition
Pumpkin carving can be really difficult to do. Before diving into your spooky designs, there’s the dreaded messy task of removing all that pulp and seeds from inside the pumpkin, but we have a simple hack to make it easier.
Pumpkin carving is a much-loved seasonal pastime, but without proper planning, you could end up ruining your pumpkin, making excessive mess, or even worse, causing yourself an injury. Get in the spooky spirit of things in the right way with our top tips and tricks for a safe, easy, frightfully fun evening. Keep it simple or go big, it’s time to make a fiendish decoration to impress all your friends.
Follow these steps to get carving:
Step 1
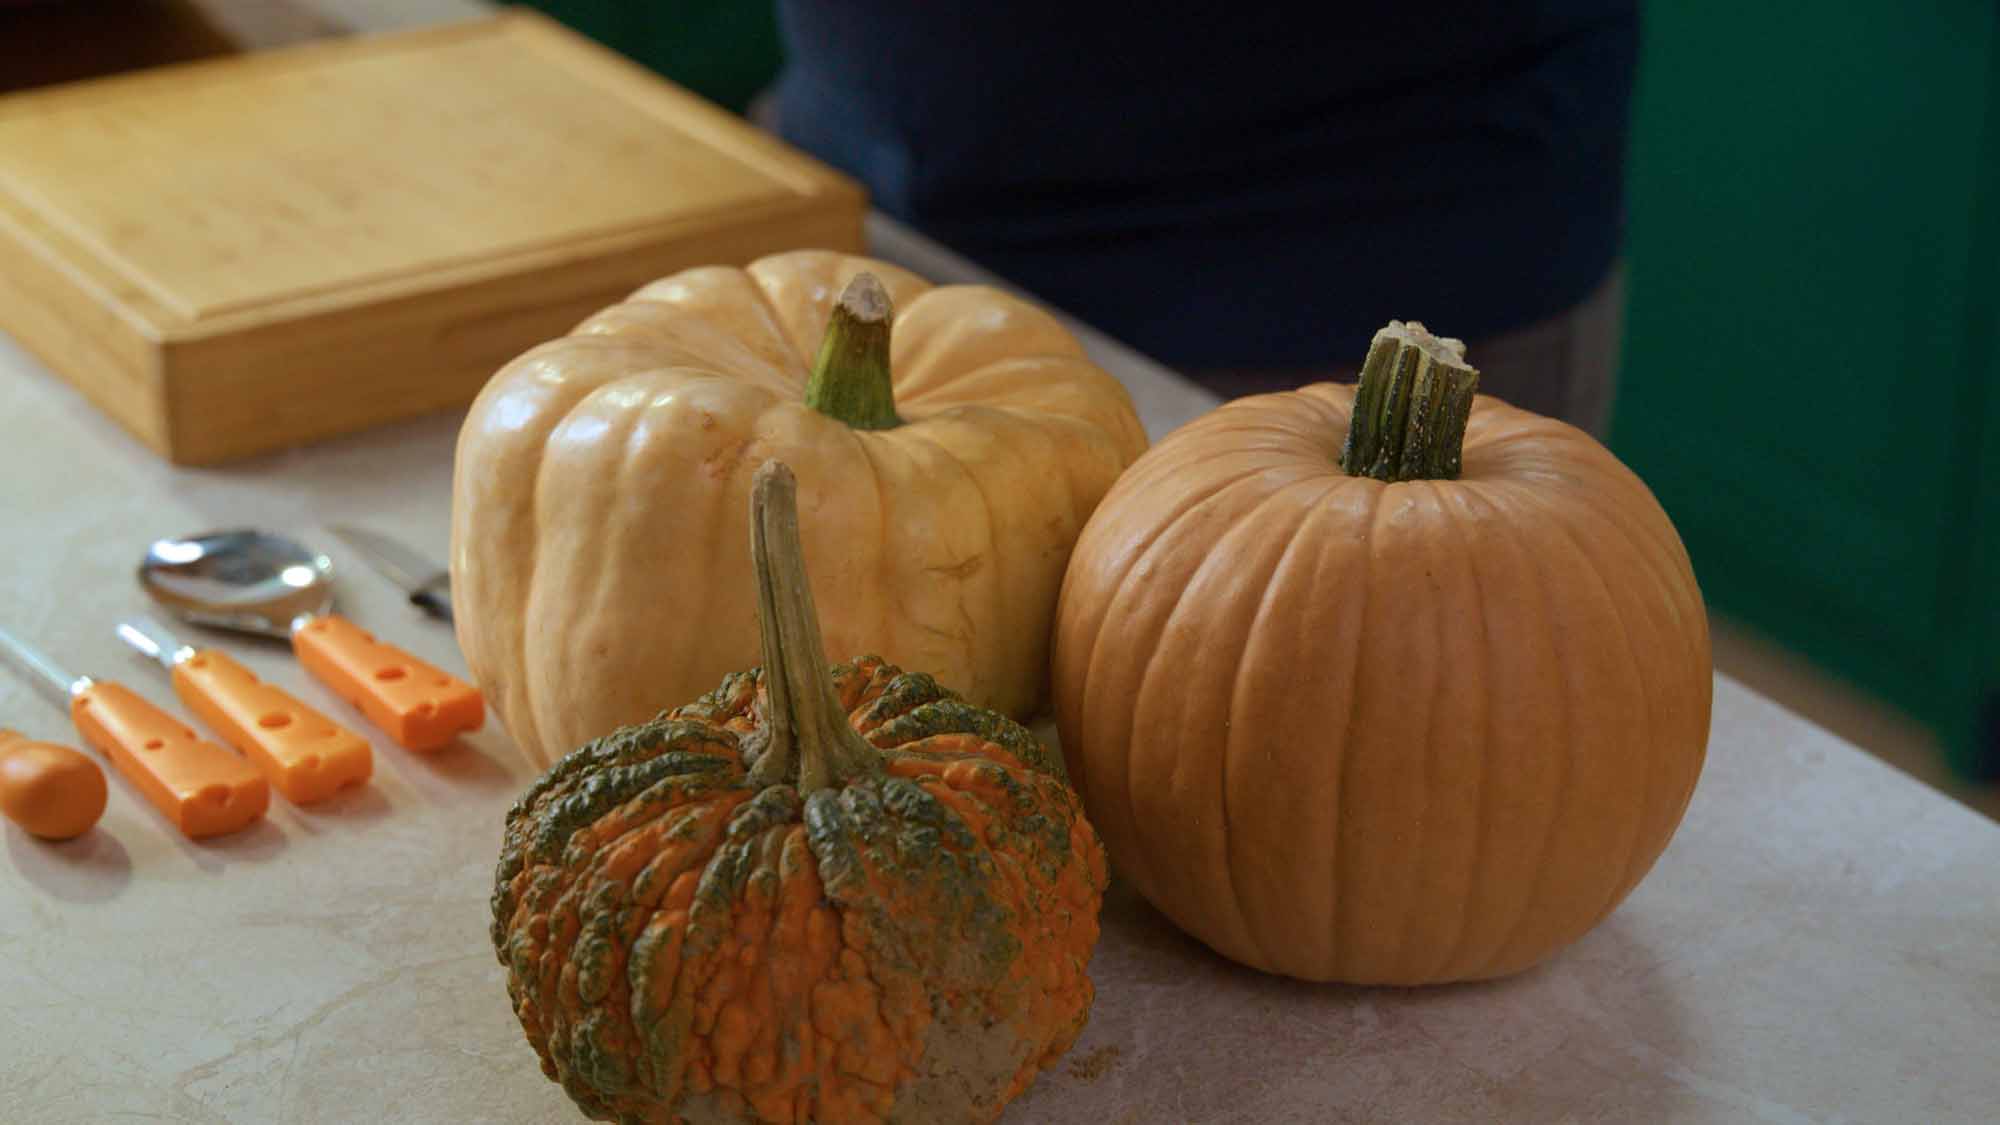
First thing’s first, choose the perfect pumpkin – gourd vibes only.
Top tip: look out for a good-sized, heavy pumpkin with firm skin and a flat base (so it won’t roll away when you’re trying to carve it). Avoid any with soft spots or cracks that might get in the way of your artistry.
Step 2
Next, prep your workspace, making sure it’s clean and safe. Lay down a newspaper or chopping board to protect your worktops from all the pumpkin slime. Newspaper is a great shout if you don’t fancy cleaning up afterwards. Just scoop it all up and pop it straight into the bin.
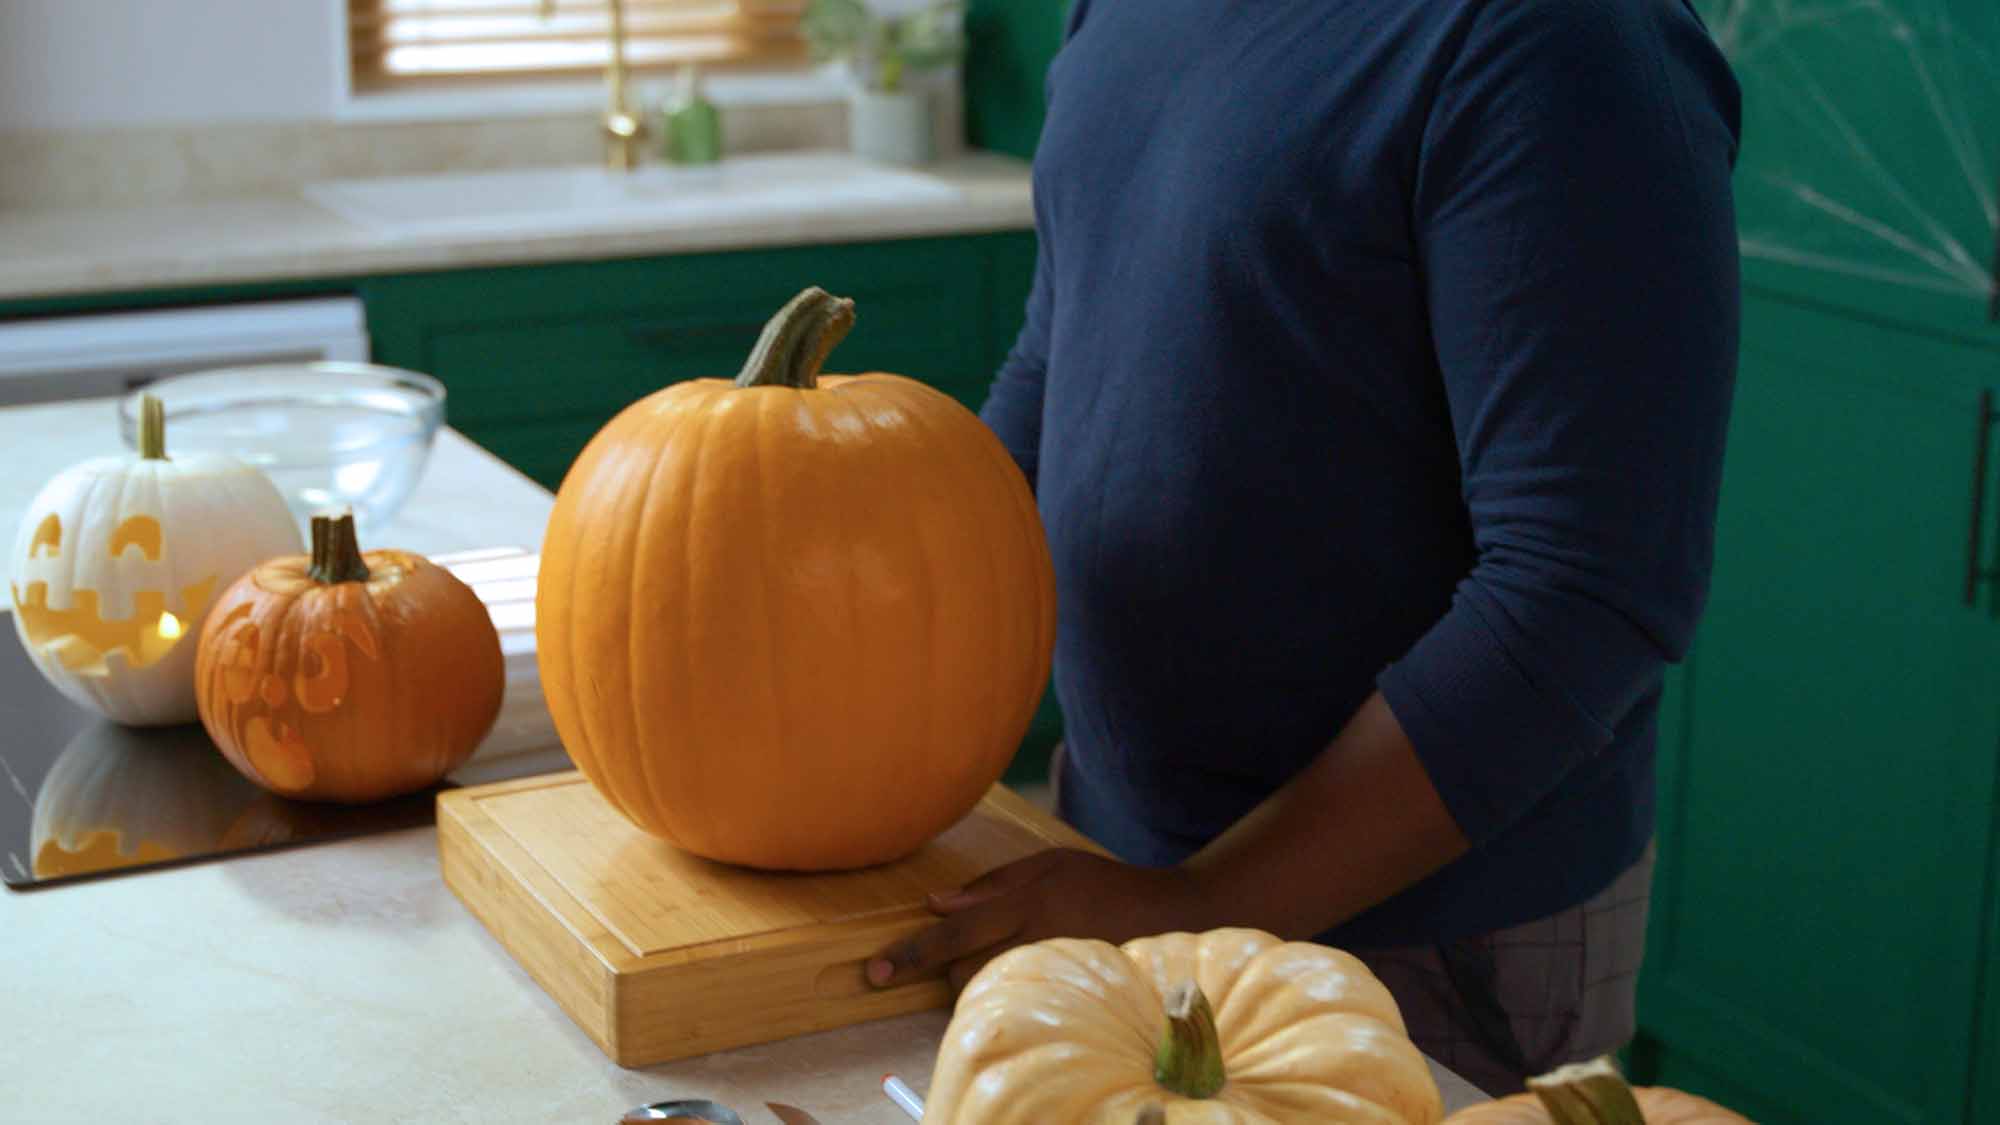
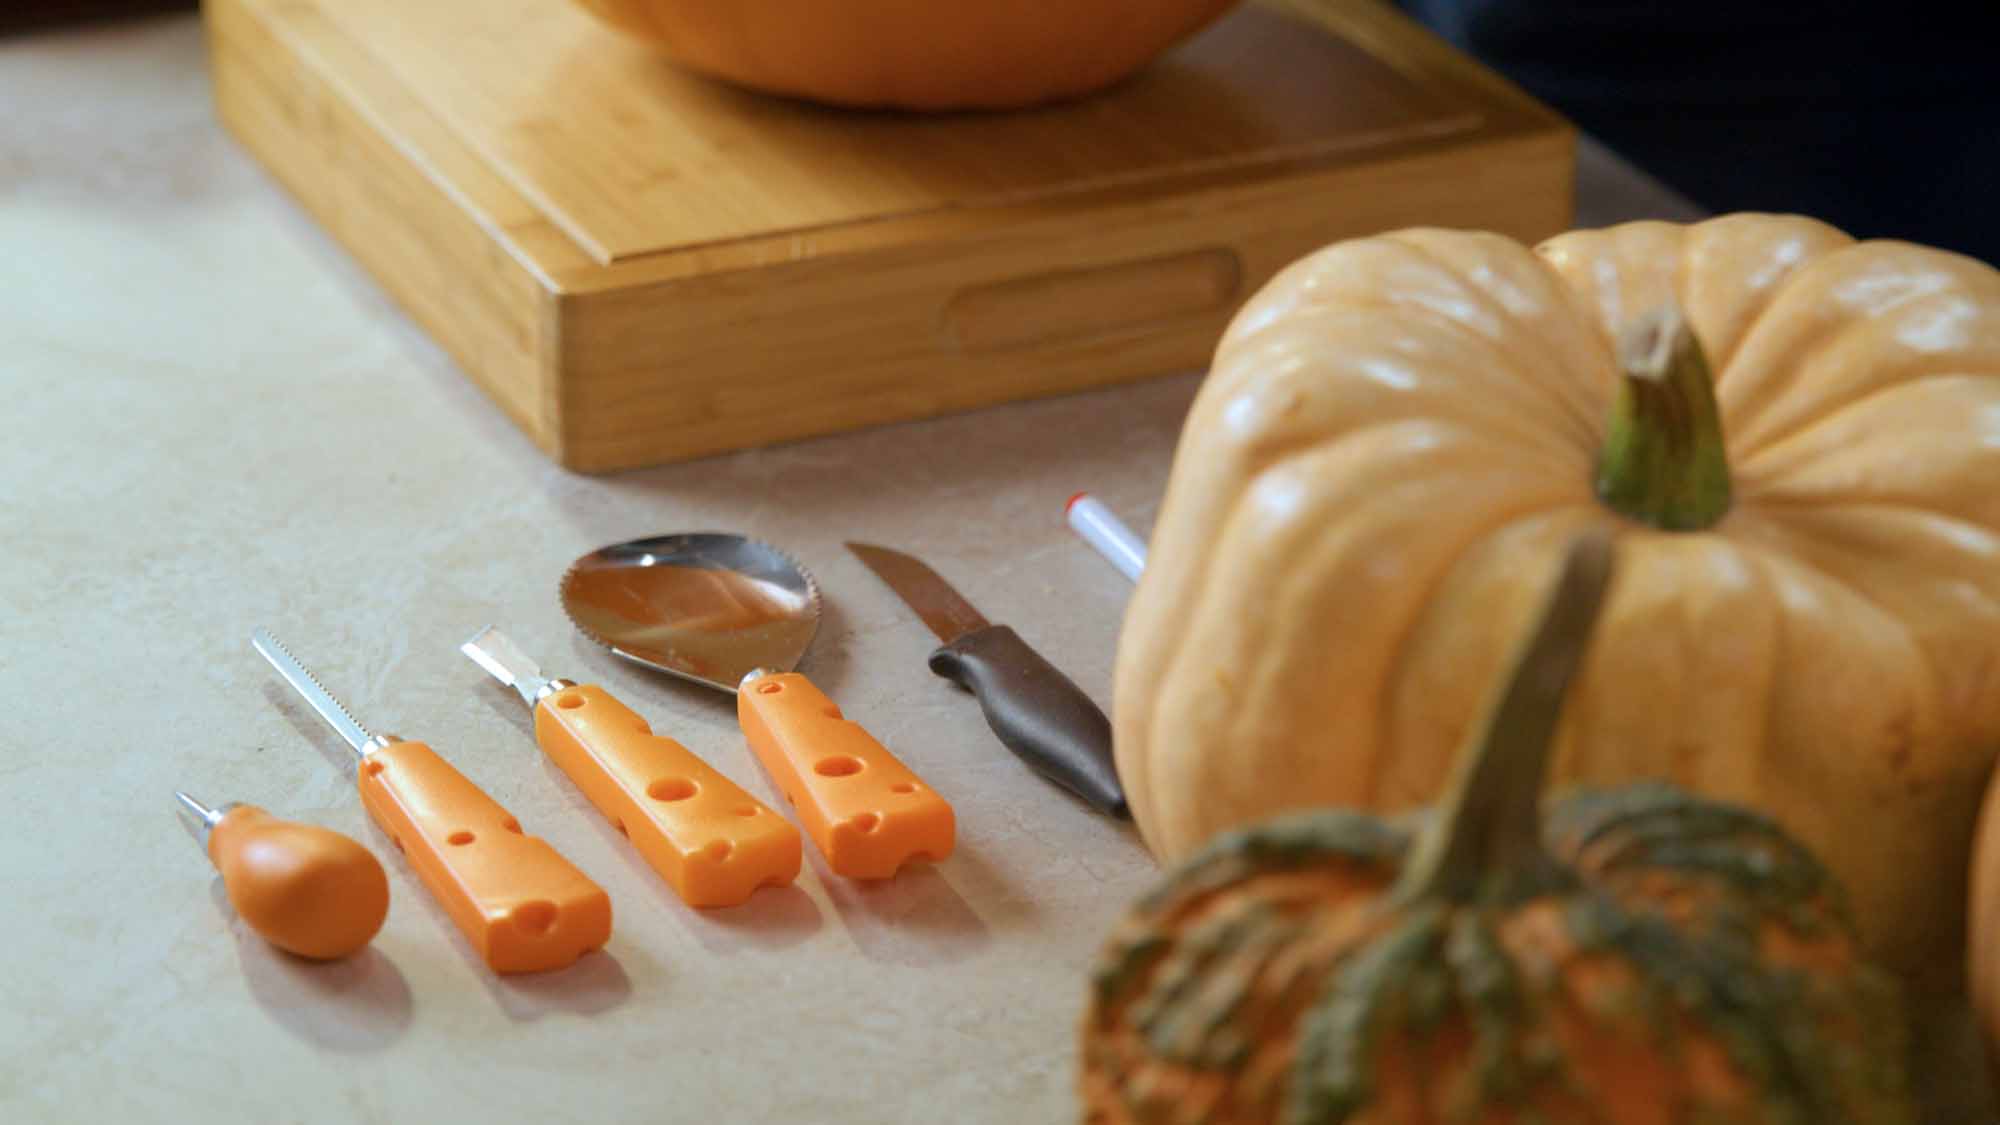
Step 3
Get out a bowl, spoon, and a stand mixer (if you’ve got one) for scooping out the insides and a small, serrated knife or pumpkin carving kit to bring your design to life.
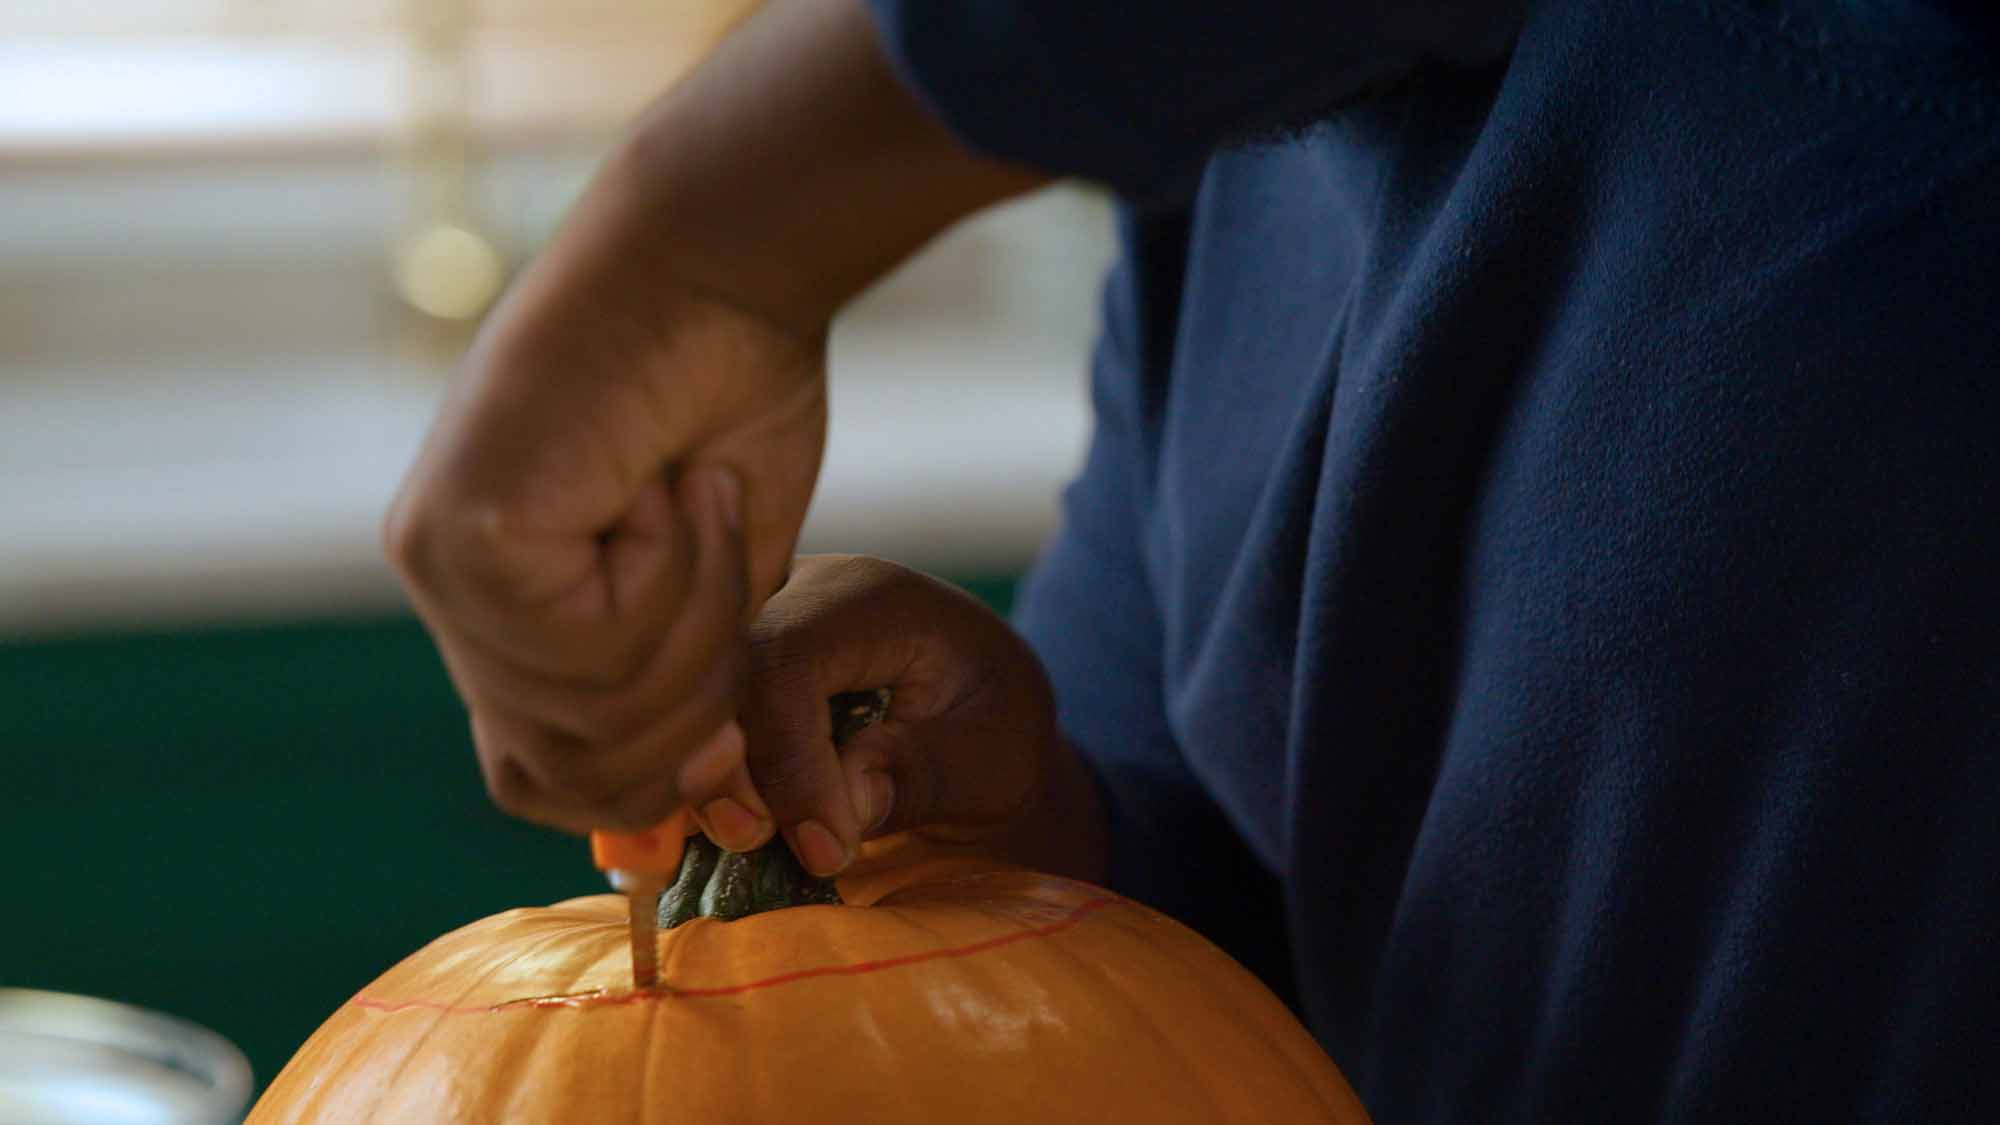
Step 4
Start from the top, cutting a circle around the stalk at an angle to stop it falling in.
Remember: make the opening wide enough to get everything out easily and pop the lid to one side. You’ll want to pop it back on at the end to keep things dark.
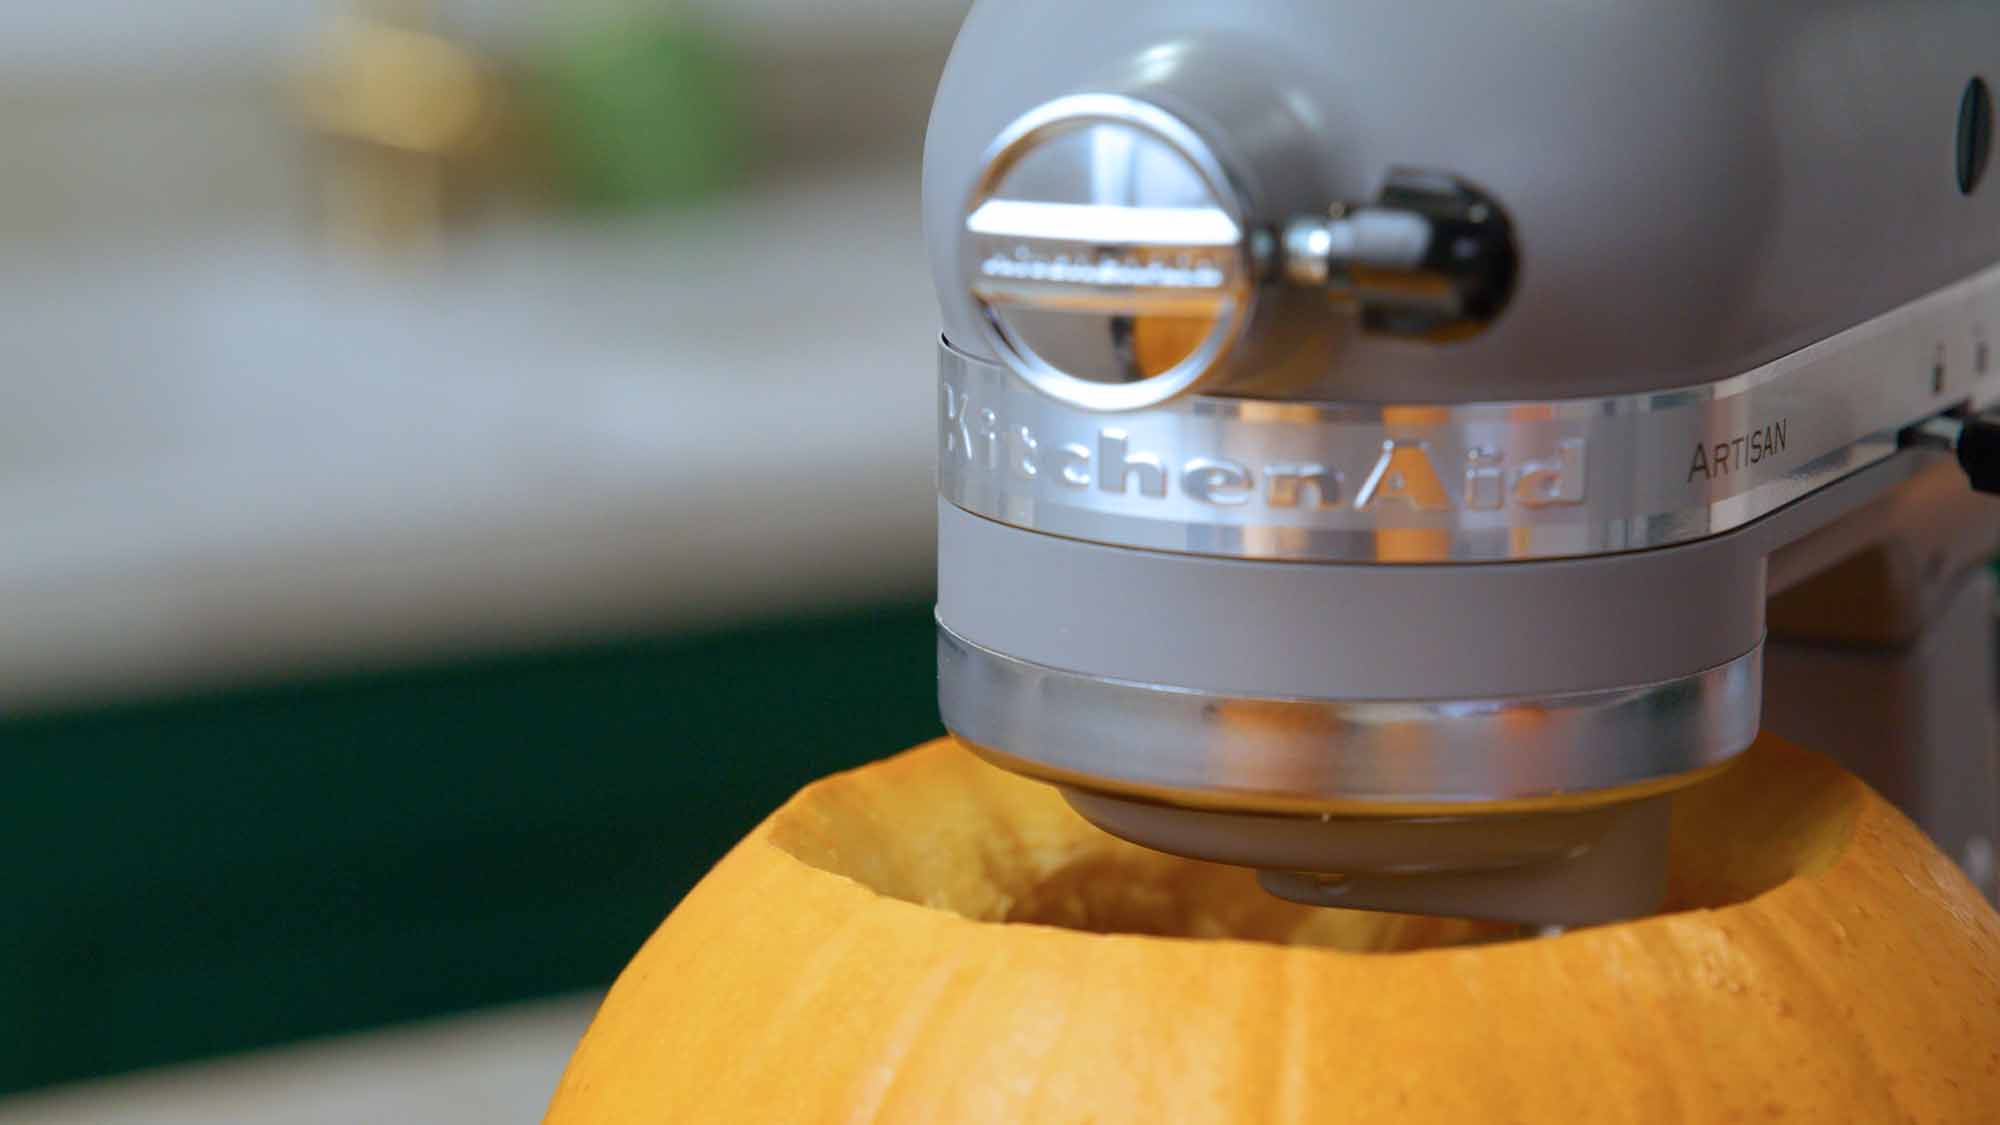
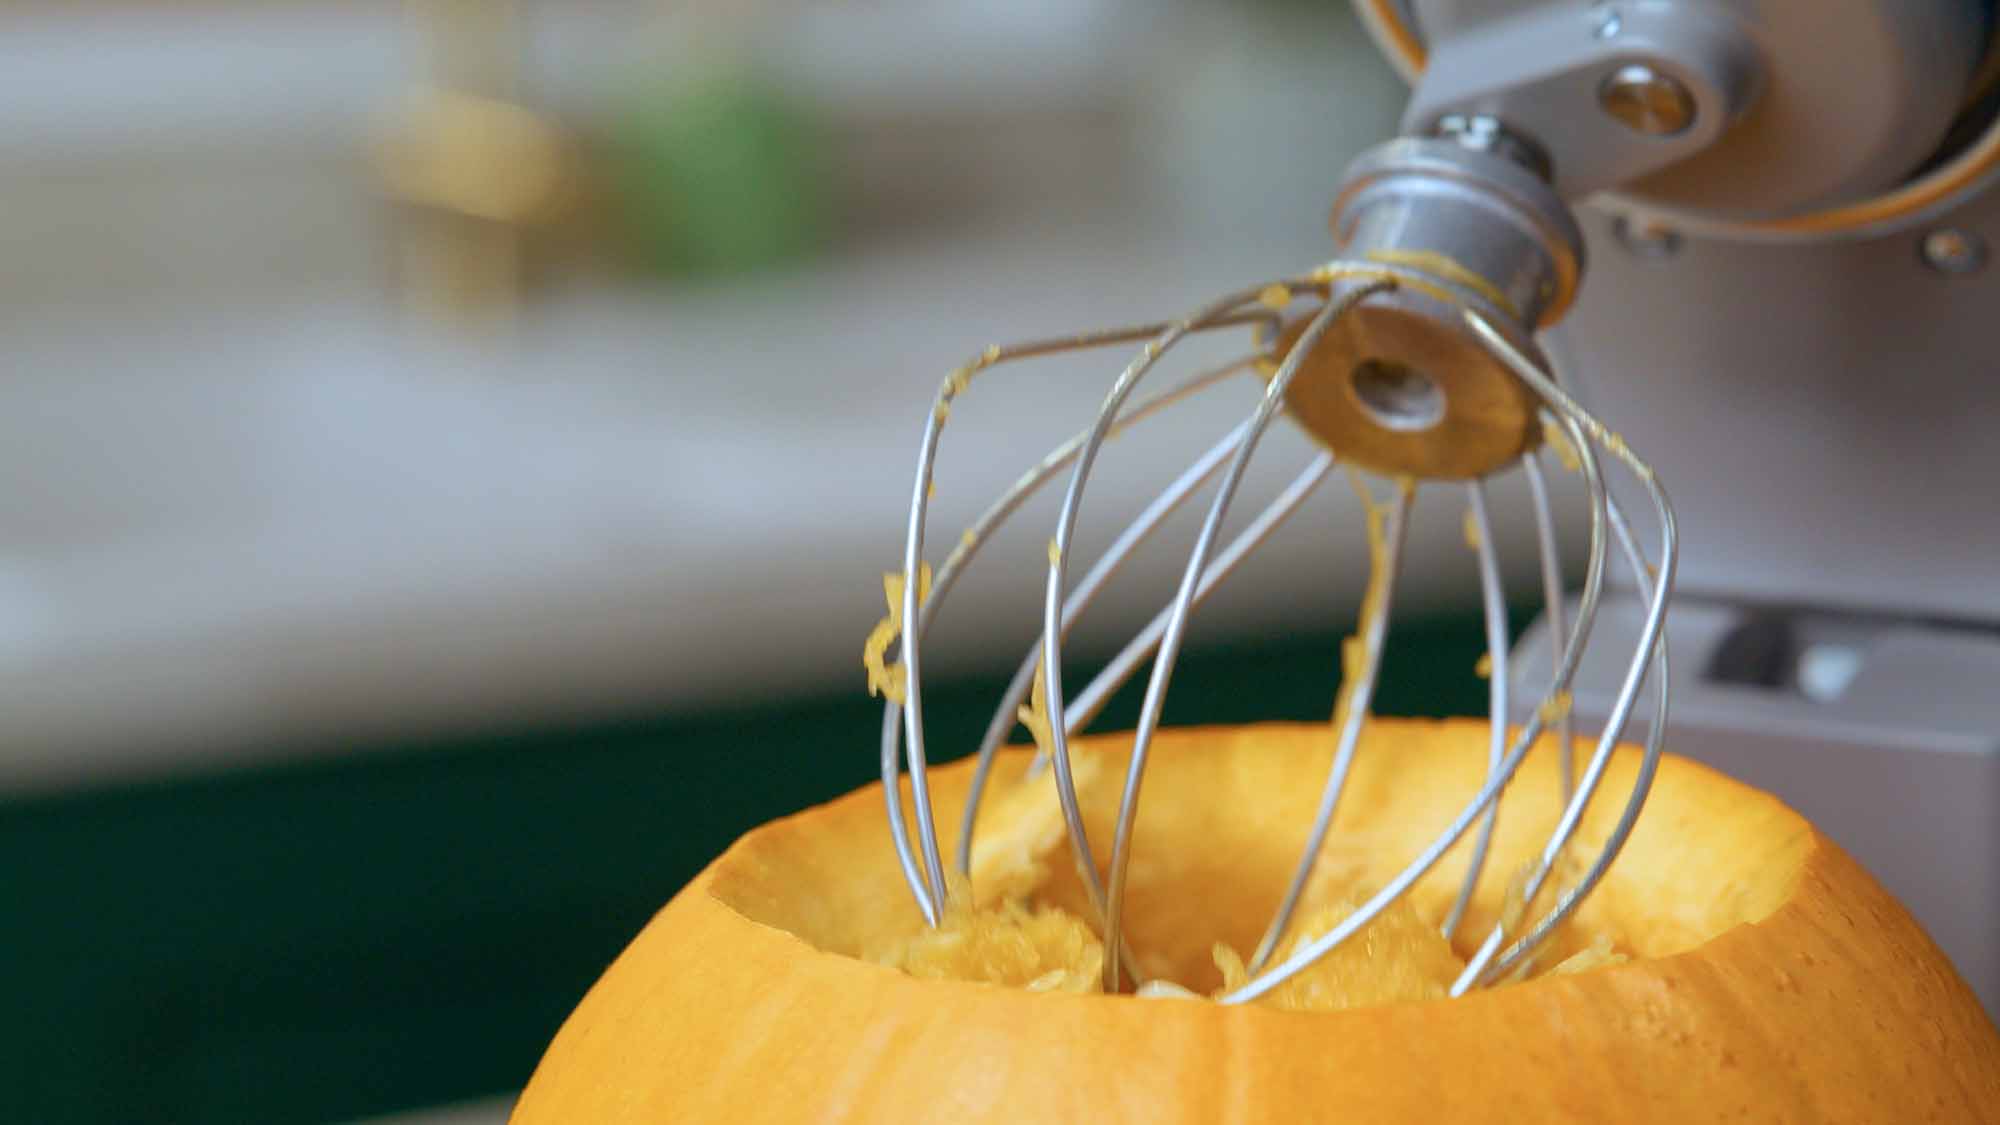
Step 5
Want to speed things up? Use a trusty stand mixer for this next bit. Just pop your pumpkin where the bowl should be and use the whisk attachment and a low-medium setting to dislodge the pulp and seeds. Remember to keep hold of the pumpkin while you do this!
Step 6
Use a big spoon or scoop to remove the insides, scraping the sides until they’re silky smooth. If the little ones want to get their hands messy too, it might be worth giving them an apron to protect their clothes.
Fancy a healthy treat later? Save the seeds for roasting.
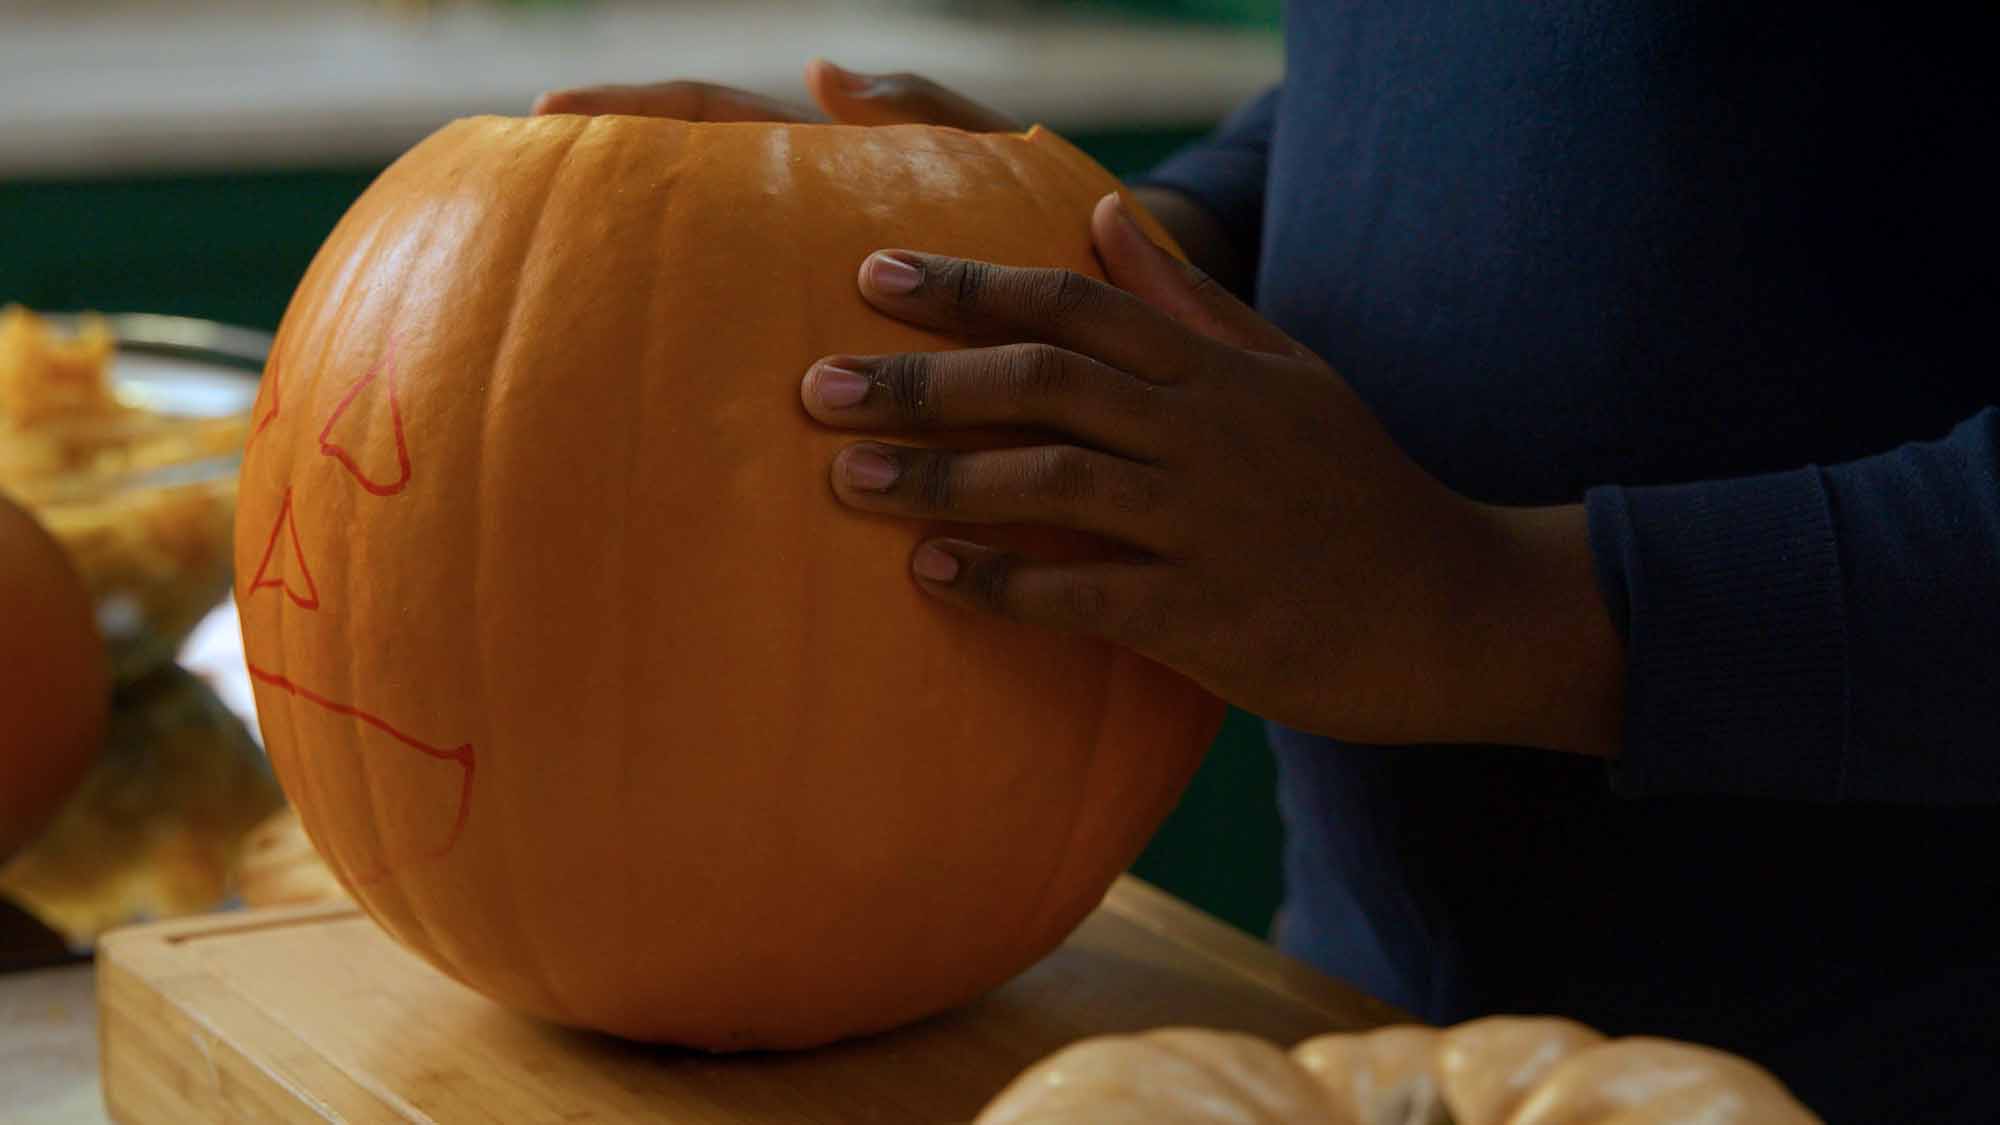
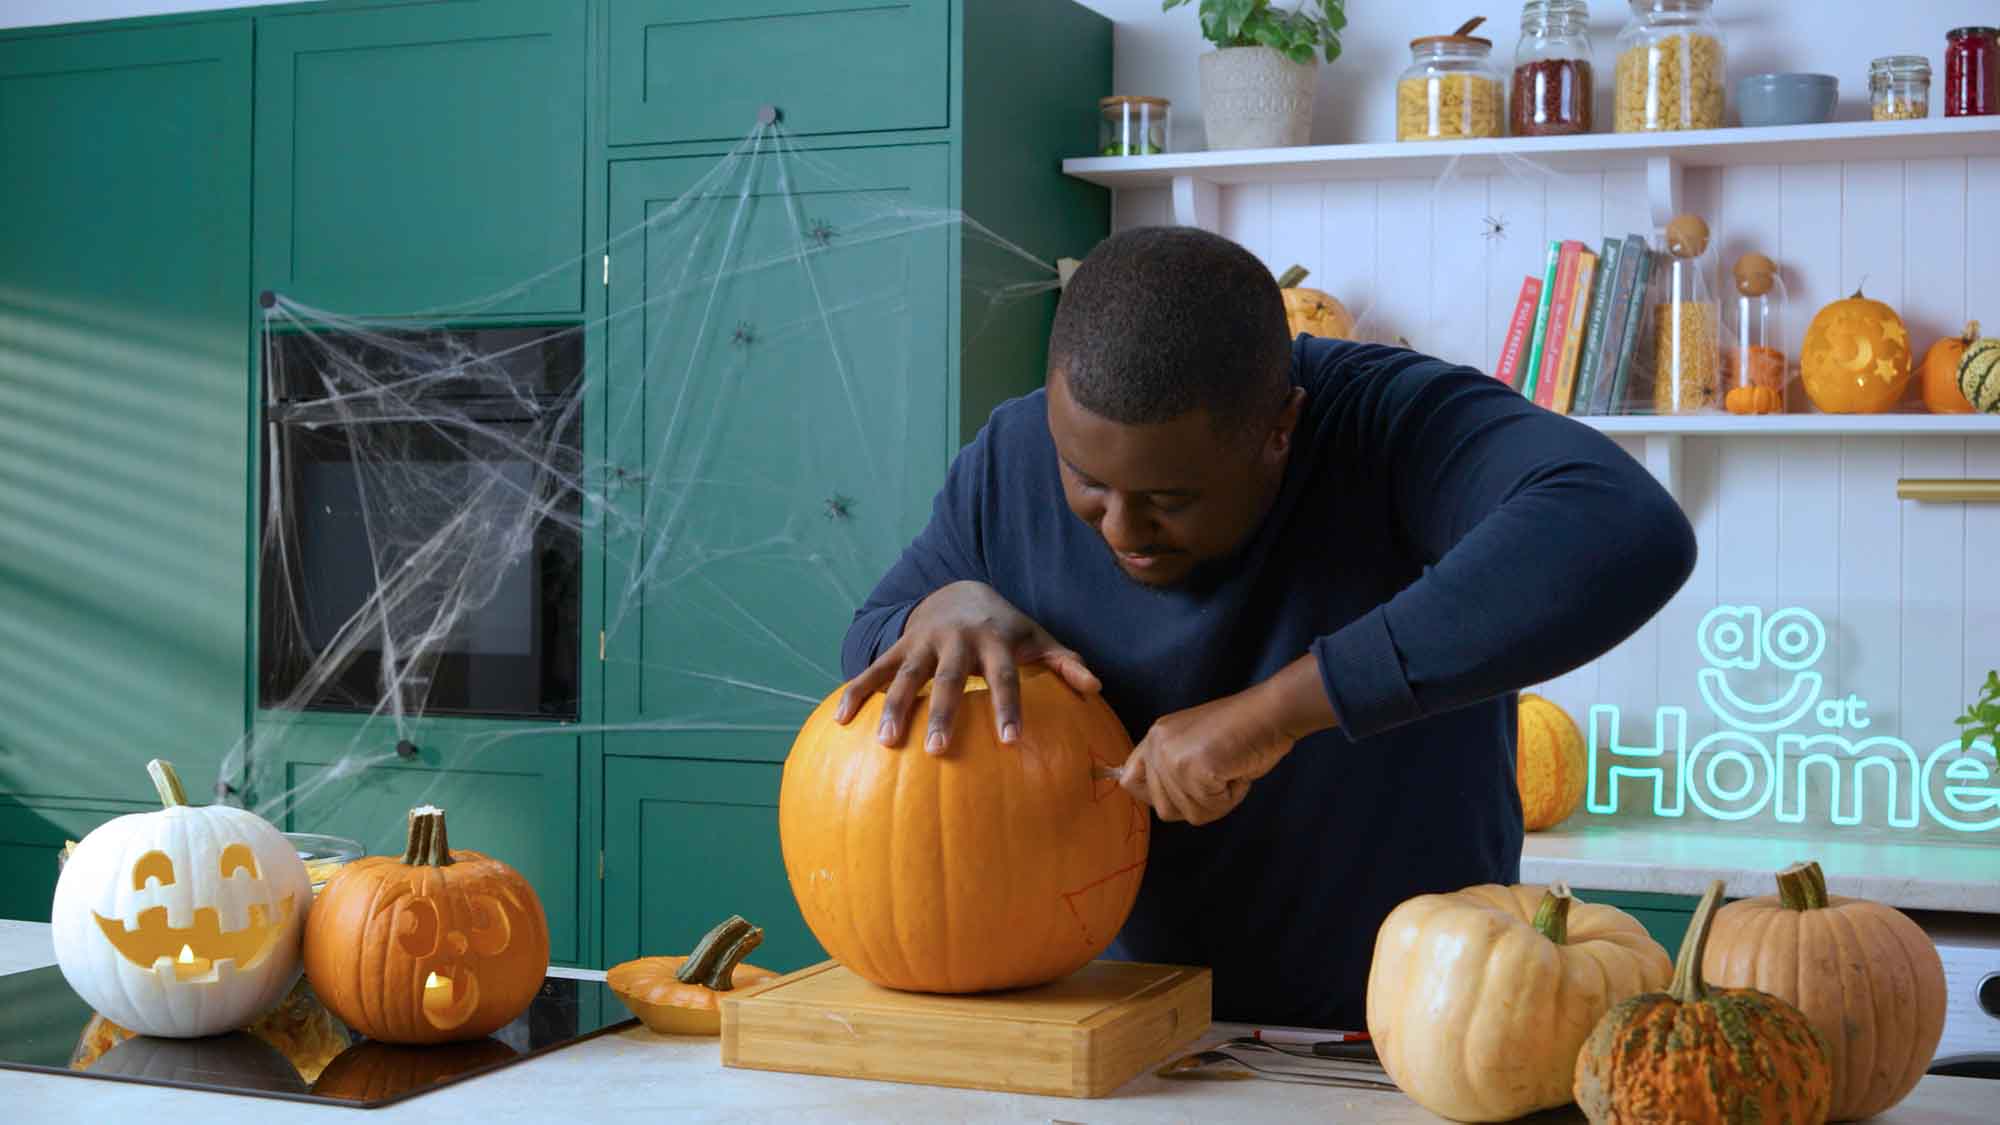
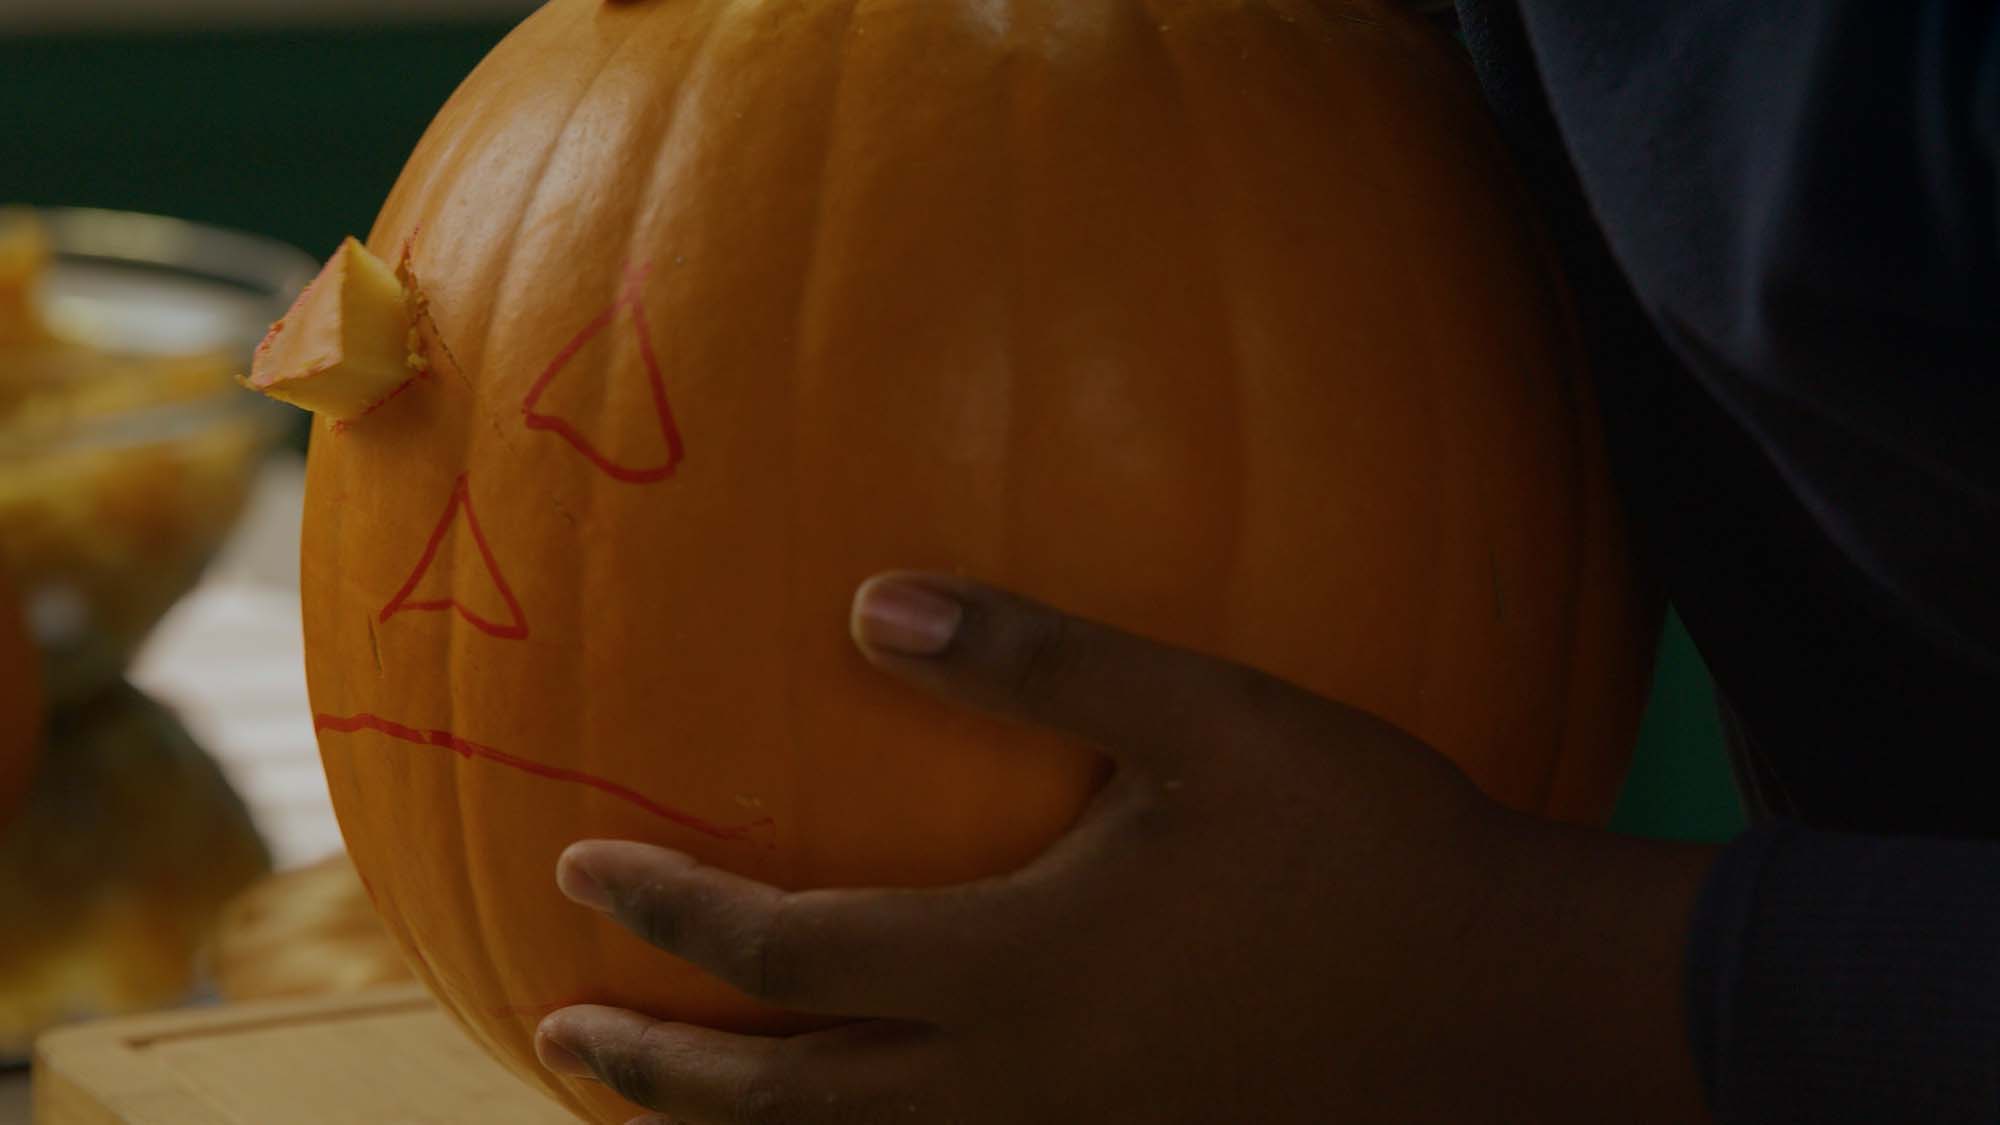
Step 7
Sketch your design with a marker or pencil.
Spoilt for choice? Keep it simple if you’re new to carving – classic faces, stars, or themed shapes are a great place to start. But if you’re feeling confident, push the boat out with a showstopping design that’ll give all your guests a fright.
Step 8
Now it’s time to give your pumpkin a face and show off your creative flair. Take your time with a small, serrated knife to follow your design. Cut slowly and carefully and work from the centre outwards.
Step 9
Push each piece out gently after it’s cut.
Step 10
Last thing to do is light it up – nothing like finishing things off with a ghoulish glow.
Handy hint: try battery-powered tealights or smart lights for a safer choice than a real candle.
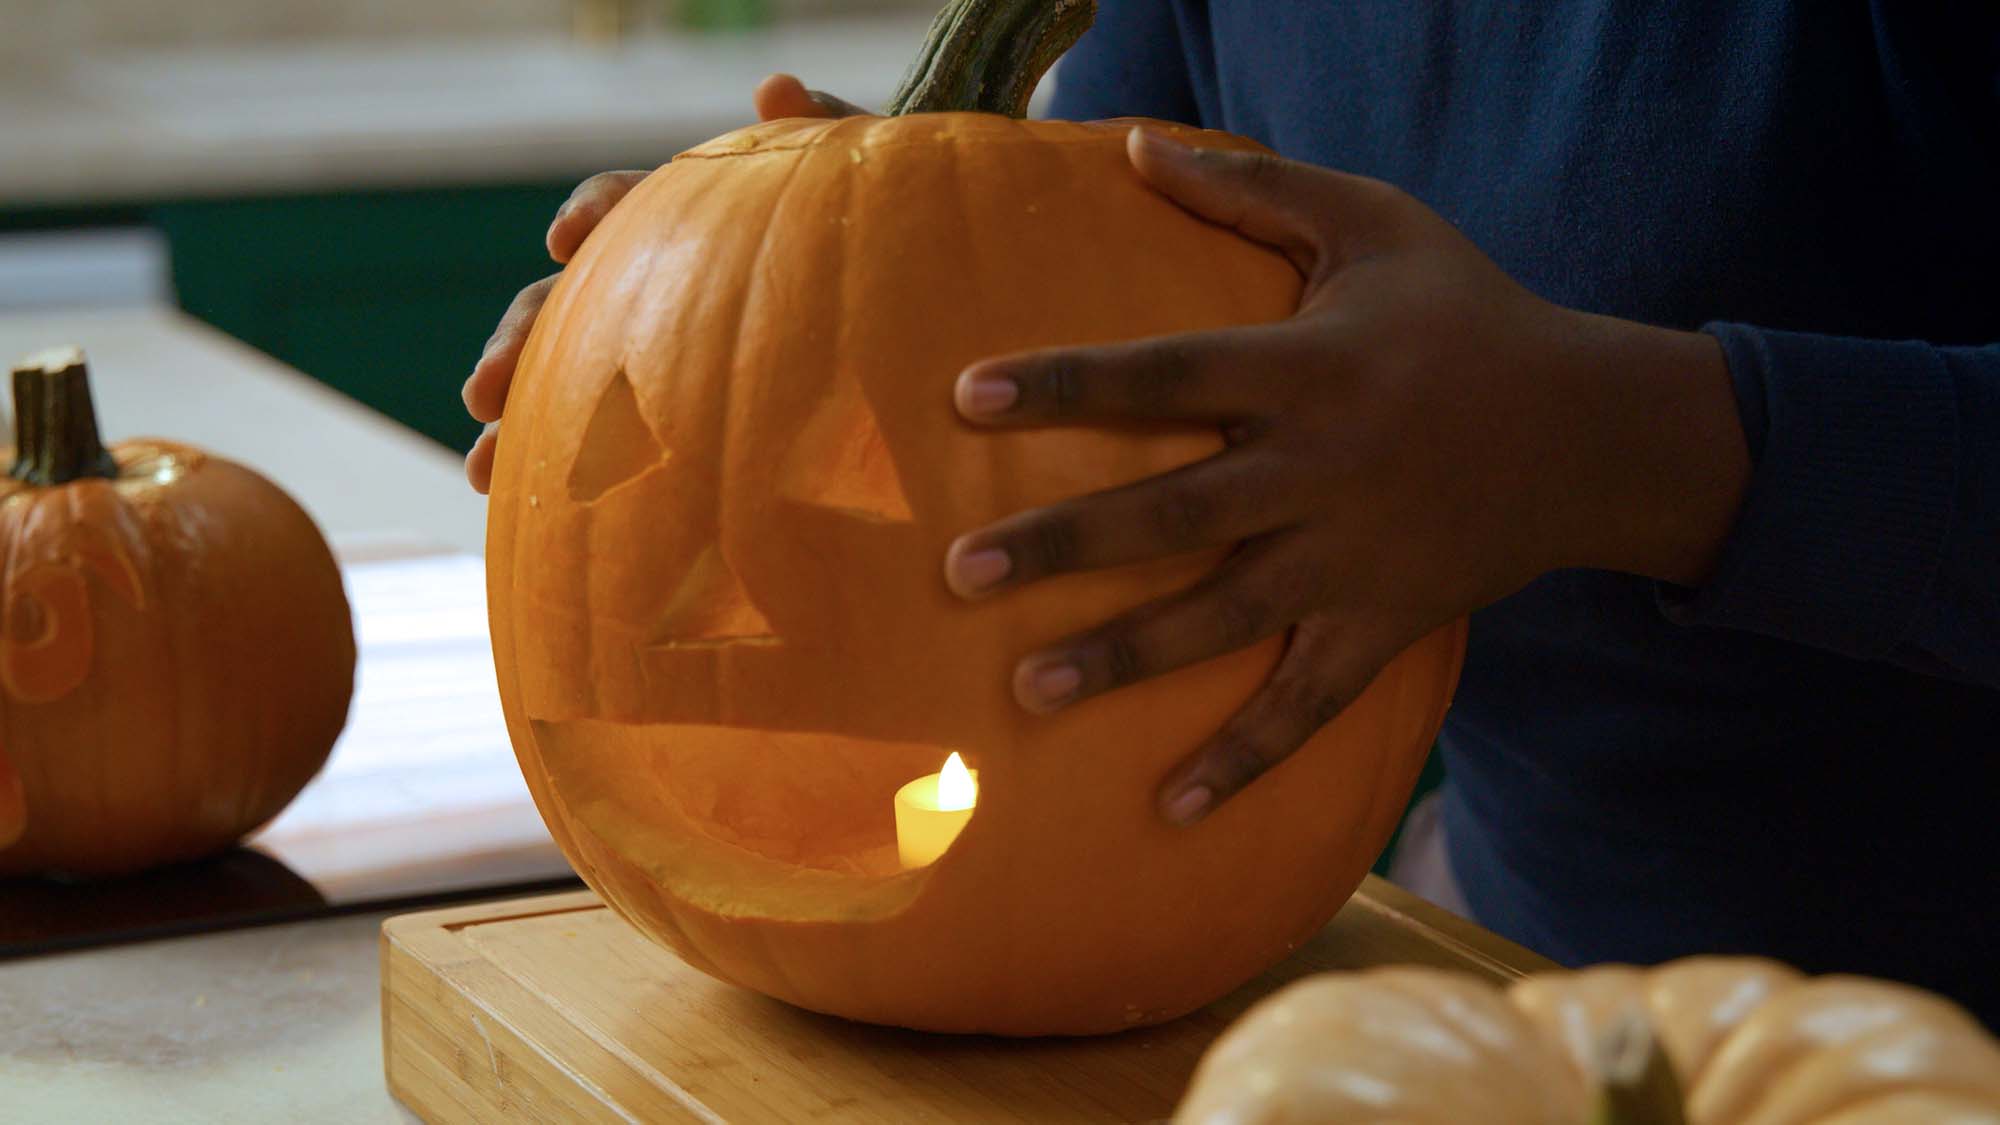
Step 11
Put the lid back on and pop your fang-tastic new decoration on the windowsill for passersby to admire. Happy Halloween!