Our site uses cookies to give you the best experience. or continue shopping if you're happy.
Accept & closeReal Homes: Creating a DIY Games Room
Take a peak at Kimberly's impressive DIY games room transformation!

Almost as soon as we moved in, I’d ‘claimed’ the smallest box bedroom as my future dressing room and in turn, Wayne claimed the cellar as his future games room.
The space was not large and was essentially like any other unfinished cellar of a 100+ year old Edwardian property. The ‘usable’ space is just below the dining room so the main room is roughly the same size. There is a separate chamber as well that was originally filled with discarded wood and rubbish from the previous owners which was cleared out so that we could move the tools, paint and various DIY things we had accumulated to make a bit of room to work in the space.
Before the build
The ‘chimney breast’ and various other parts of the walls were thick with old paint that was chipping and damp and rather awful. There were also weird bits of brick sticking up on the floor that needed to be removed as well. While we never had any flooding in the cellar, there was a lot of moisture and as such, it wasn't a particularly pleasant place to spend time in. At this point, Wayne's new games room seemed very far away.
Damp proofing
We worked on this area over the course of about a year, spreading our costs of the remodel and allowing us some time to make the décor decisions. The first thing that needed to be addressed was that the walls needed to be sealed from damp that might be coming in. A tanking compound was brushed on and then a coat of bitumen, chemically bonding to the brick to seal it but still allowing the bricks to breath, allowing any moisture to pass through and evaporate.
Building the walls
We attached batons to the walls (also coated in bitumen) which would hold the plasterboard, this gap being necessary to allow any moisture to evaporate and keeping the main walls dry. We recycled as much as possible, the batons were simply bits of wood left by the previous owners and we even re-used the spotlights that we’d removed from our kitchen remodel. This all helped to keep costs down too.
Flooring, painting, and heating
A levelling compound was used to even the concrete flooring and with a damp-proof membrane layered above, a dark wood laminate floor was floated on top.
Once all the drywall was plastered and painted, the room started to come into its own. We added skirting board and a few louvred doors to create some practical hidden storage under the stairs and in the alcoves.
A radiator was also installed which transformed it from a cold underground space to a cosy snug.
Time to furnish!
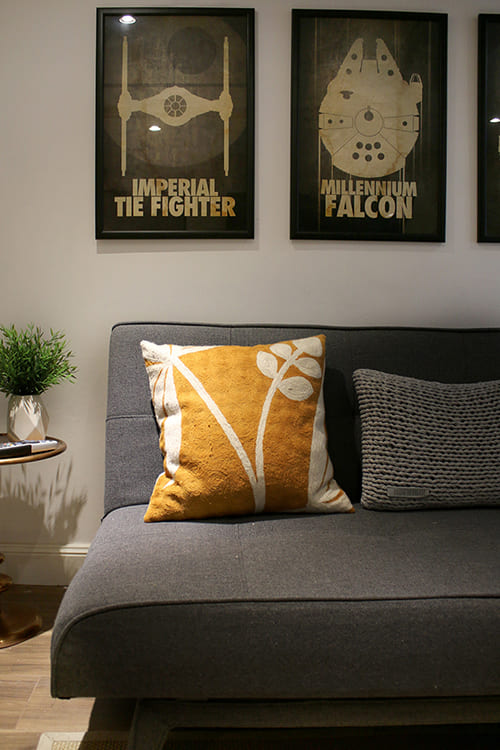
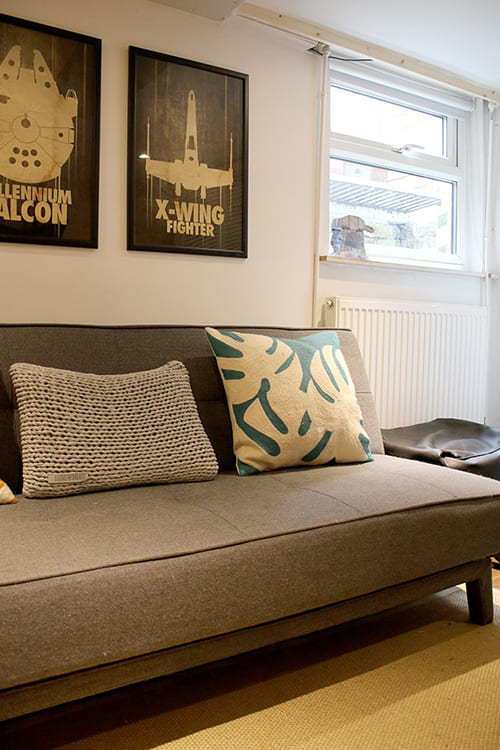
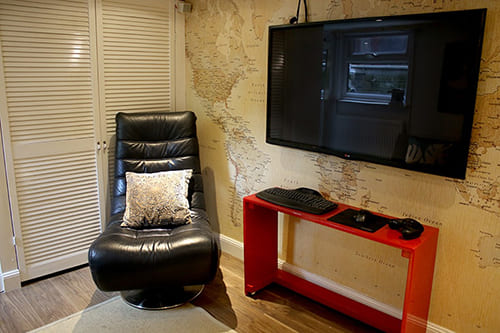
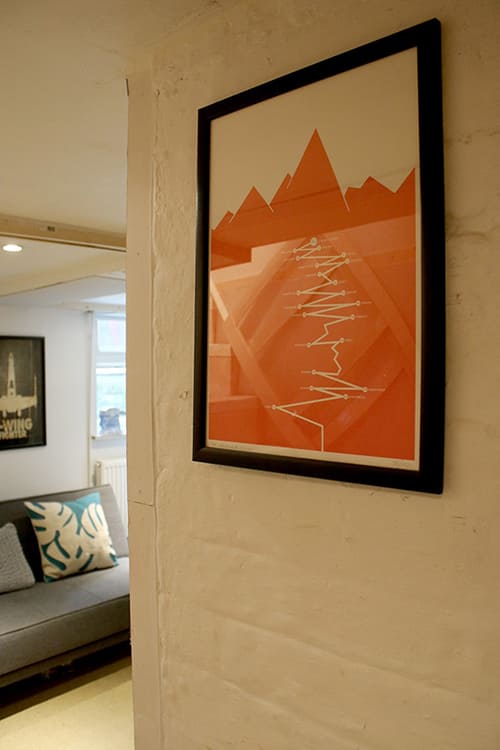
We moved in a stylish grey tweed futon, a comfy ‘gaming chair’ and installed a 50” television. A large antique map wall mural gave the space personality. Framed stylised Star Wars prints gave it a geeky but decidedly Wayne twist.
Wayne now has his games room which he can quietly retreat to in order to play video games and we both enjoy the space to watch any film where a large screen is a must! We still have a few things to complete here, like boxing in some wires, so it’s not 100% finished but it certainly does the job.
Bringing it all together
Doing the work ourselves has probably saved us around £8000 and we imagine having a finished cellar has added value to our home as well. Looking at the before and after pictures, we can hardly believe anymore that our once damp and depressing cellar has turned into a stylish and fully usable space, one that, truth be told, we both enjoy spending time in.
All photos copyright Swoon Worthy and used with kind permission.