Our site uses cookies to give you the best experience. or continue shopping if you're happy.
Accept & closeDIY: Pom Pom Trim Chair Pads
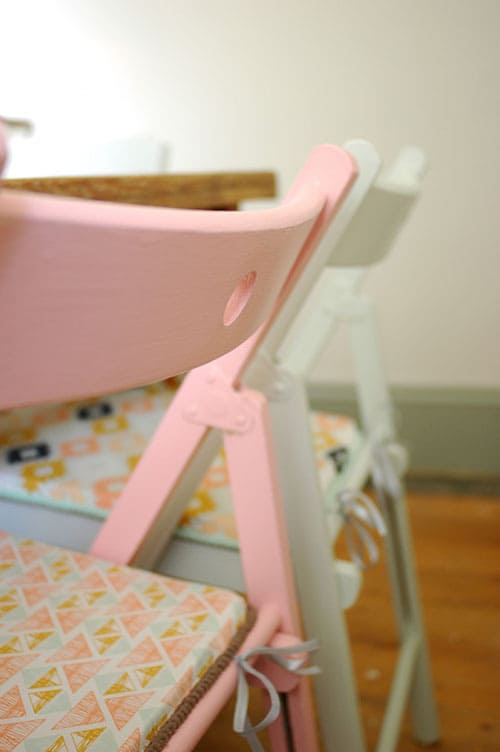
These cute pom pom edged seat covers are simple and easy to make.

"I’ve always found it hard to find dining chair cushions that I like in the shops. I decided it would be much easier to make some, and that way, you can customise them to suit your chairs and colour scheme. There are lots of beautiful fabrics available these days, so you really can go to town and make your perfect seat pads."
Here's what you'll need...
- Fabric of your choice
- A different fabric for the underside
- Upholstery foam (I used 20x20x1 slabs bought on ebay)
- Paper for making template
- Ribbon
- Pom pom trim
- Basic sewing kit and sewing machine
Here's how it's done... Step 1
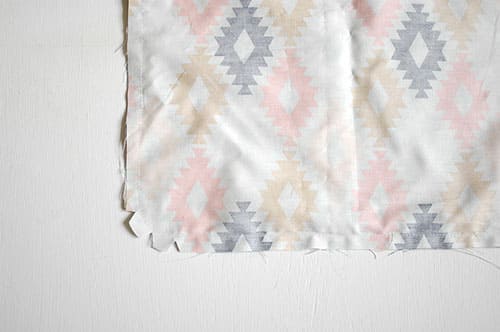
Measure the seat of your chair to work out the size of seat pad you’ll need. Then measure this out on your paper and cut out. I made mine with rounded edges but you can keep your corners at right angles if you prefer.
Pin your template to your fabric. Measure an extra 2cm the whole way around the template, this is for the seam allowance and also to allow for the depth of your foam. You will need to add more if you’re using a thicker foam. Cut out the fabric.
Do the same with the fabric you’re using for the underside of the seat pad.
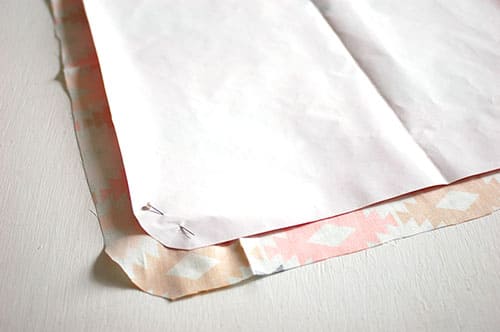
Step 2
Next tack the top and bottom fabrics together, right sides facing. Leave a gap of approx. 20cm where you will insert the foam pad later.
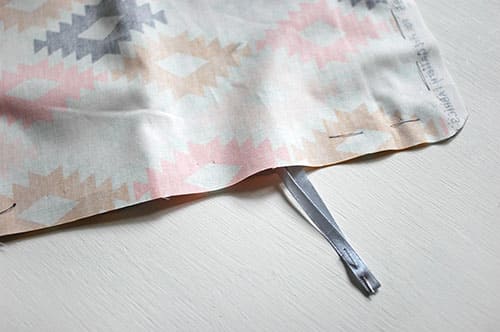
Step 3
Cut lengths of ribbon of approx 50cm, two for each seat pad. Fold the lengths in half and insert in between the fabric, with the folded edge to the edge of your fabric. Pin in place. These need to be in a position where you can tie them to your chair, so make sure to measure out the best position for these.
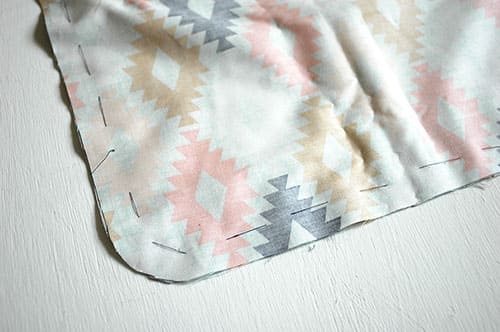
Step 4
With your sewing machine, stitch around the edge of the seat pad, leaving a 1cm seam allowance. Make sure to leave the gap for inserting the foam pad. If you have created rounded edges like I have here, you will need to cut a series of small triangles out to make the corners smooth. Turn the cover the right way out.
Step 5
Using your paper template, place it on your foam and draw around with a marker. It should be the exact size of your template. Cut the foam out.
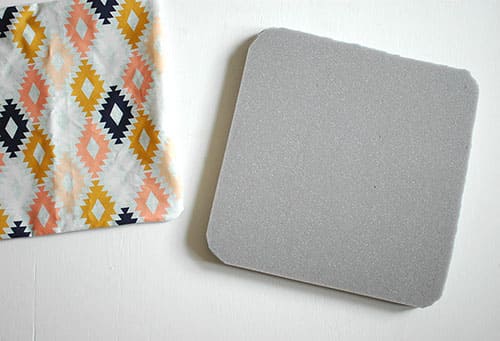
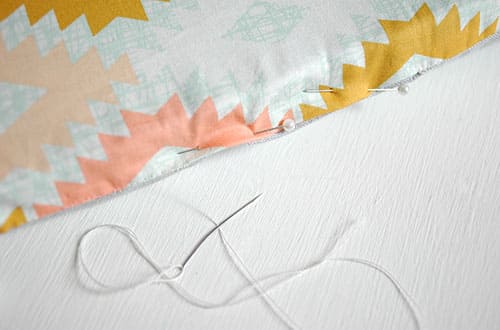
Step 6
Insert the foam pad into the cover. It will be quite snug and I found it easiest to fold the foam in three, and then unfold once it is inside. Hand stitch the opening closed.
Step 7
Finally, pin your pom pom trim around the edge of the seat pad, covering the join of the two fabrics. Hand stitch this all around the edge. (Note: I used a mini pom pom trim which works well for these seat pads, found on Etsy.)

The great thing about making your own seat pads is that, if you have mismatched chairs like I do, you can tie the look together with matching seat pads. All you have to do is alter the template slightly to fit each chair. I even made a round version for one of mine!