Our site uses cookies to give you the best experience. or continue shopping if you're happy.
Accept & closeTop Tips: How To Carve A Pumpkin
Create a stylish Halloween pumpkin with our simple DIY!
"Autumn, pumpkins, Halloween, it all goes hand in hand. It’s time to get cosy, grab a cup of tea or hot chocolate and wrap up warm. As the days are getting shorter and the evenings longer, this, in my opinion, is the best time of the year for some crafting. Anything 'earthy', involving natural materials and possibly dark colours is perfect for this time of the year."
Well, as Halloween is in fact nearing, what could be more appropriate than some carved pumpkins. Now, to be honest, there are some real pumpkin carving champions out there who have all this down to a fine art. Unfortunately I’m not one of these people. I have to keep it fairly simple while simultaneously trying to achieve something presentable.
As I was looking for pretty rather than spooky, I thought I’d give my pumpkin a bit of a swirly (not completely dissimilar to paisley) pattern instead of a scary face.
If that’s something you might like, then read on.
Here's what you'll need
- 1 pumpkin (just to state the obvious)
- a sharp knife
- a tablespoon
- a pencil
- a drill with a small drill bit attached
Here's how it's done... Step 1
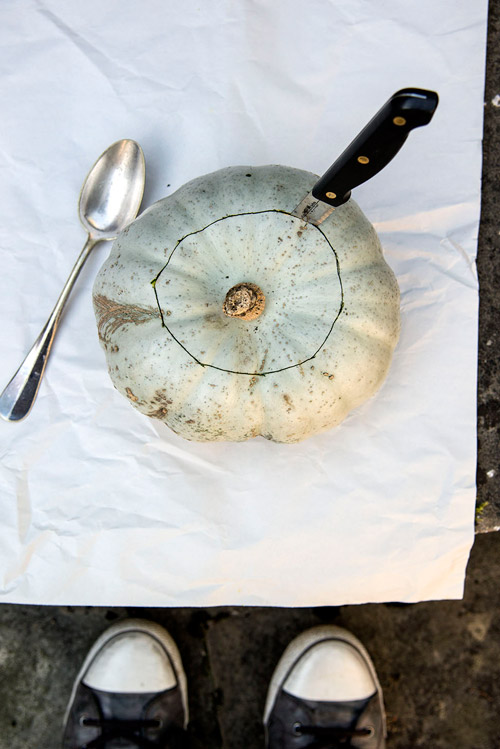
Using the knife, cut a large circle into the top of the pumpkin for the opening.
Step 2
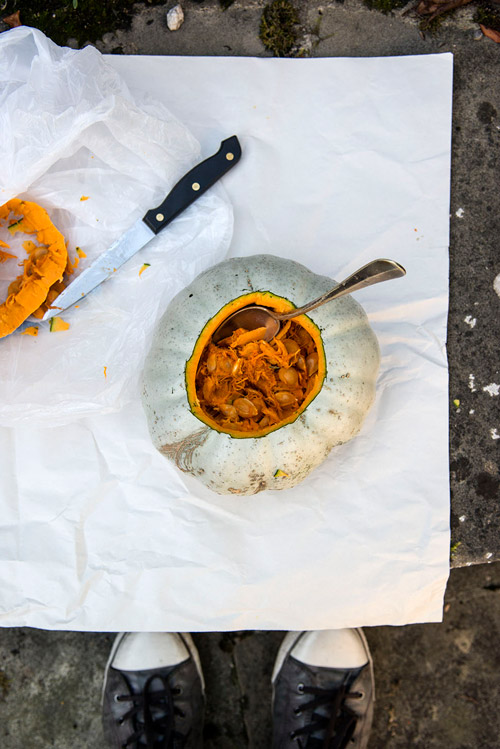
Take off the top and then start scooping out the insides with the spoon.
Step 3
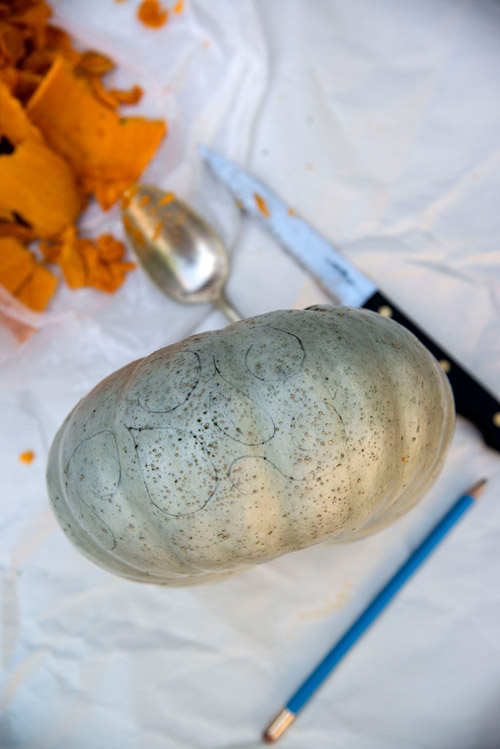
Try and carve a little more off the sides to make the shell a little thinner. Now draw the pattern you want to create onto the pumpkin with your pencil.
Step 4
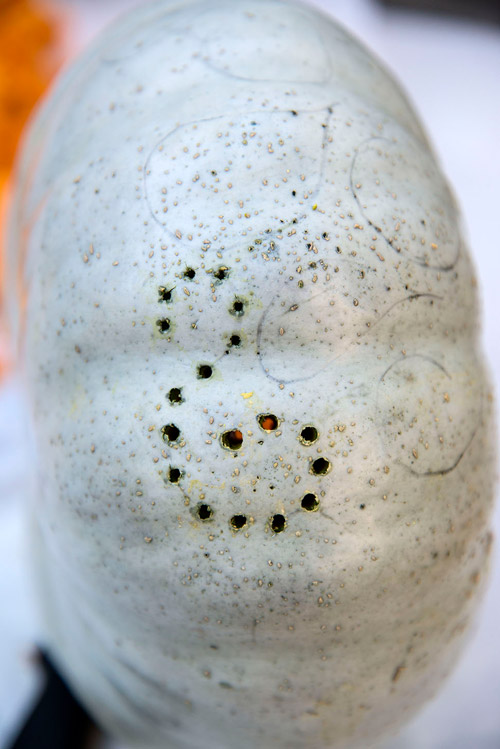
Once you’re happy with the pattern it’s time to start drilling. Drill small holes along the lines you’ve drawn being careful not to drill them too close to each other.
Step 5
Once done, give it a final clean and put a (or two, or three) tea light into it.
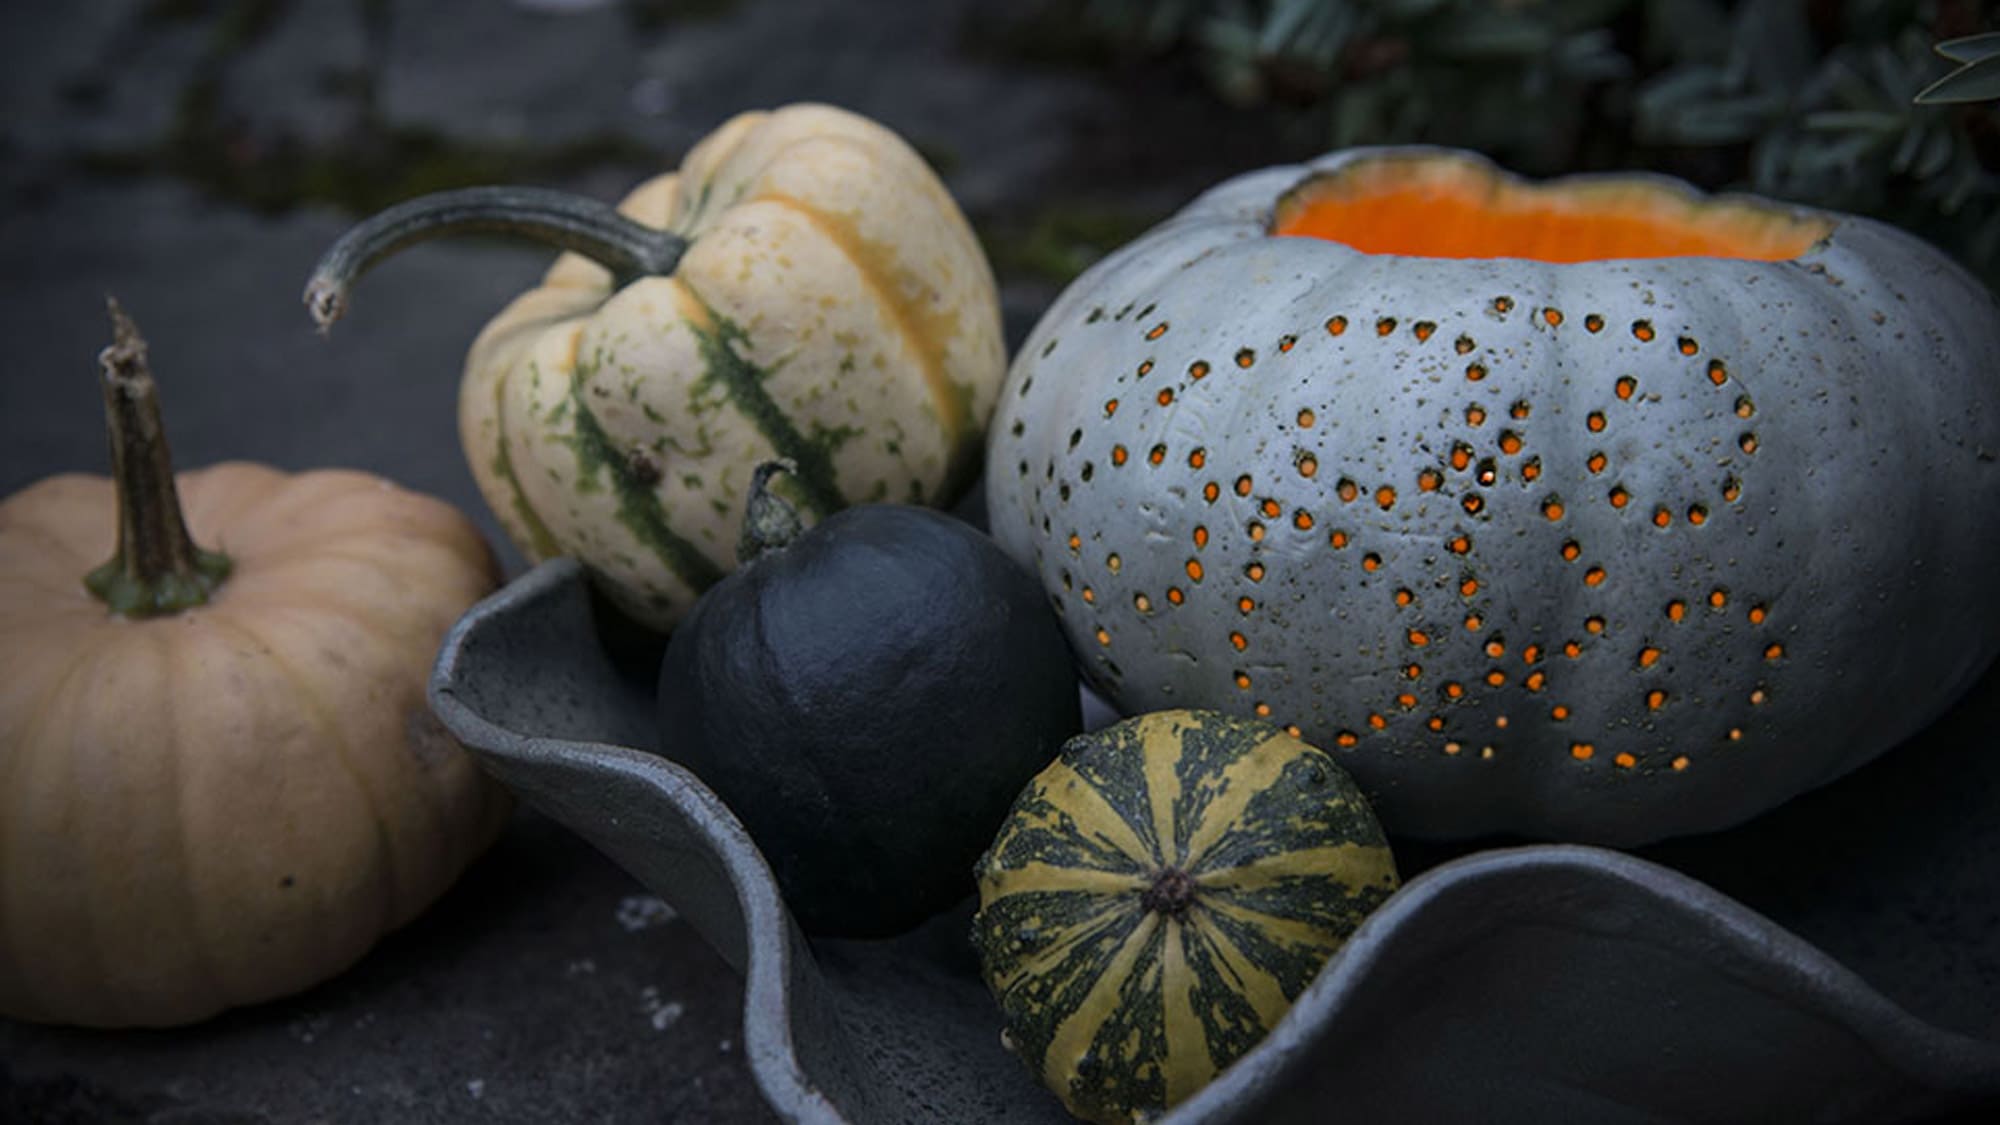
That’s it. A pretty version of a Halloween pumpkin which I hope you’ll like.

