Our site uses cookies to give you the best experience. or continue shopping if you're happy.
Accept & closeHow to Create a Present Stack Christmas Cake
Create this stunning show stopper of a Christmas cake with our instructions!

Difficulty
Medium
Serves
20 people
Prep Time
1 hour 30 minutes
Cooking Time
1 hour 30 minutes
"Forget the traditional-style Christmas pudding, it’s time to make a change and pull out an absolute showstopper that will delight your guests and serve as a glorious centrepiece for your festive table."
You can make a Christmas showstopper using almost any cake recipe. You could stick to that traditional Christmas pudding recipe, perhaps try something chocolatey or, like me, stick to a simple vanilla sponge that’ll take everyone’s fancy.
So, if you like the idea of serving up something a little different, I’m going to share with you my recipe for a Christmas present stack showstopper cake.
Here's what you'll need...
For the cake:
- 900g self raising flour
- 900g caster sugar
- 900g butter
- 6 tsp baking powder
- 6 tsp vanilla extract
- 12 eggs
and here's what you'll need...
For the filling
- 160g butter
- 600g icing sugar
- Strawberry jam
For the decorations:
- Ready to roll icing in the following colours…
- 750g of red
- 500g of white
- 250g of light green
Here's how it's done... Step 1
Remember we’re doing this in three stages, so divide your ingredients into three.
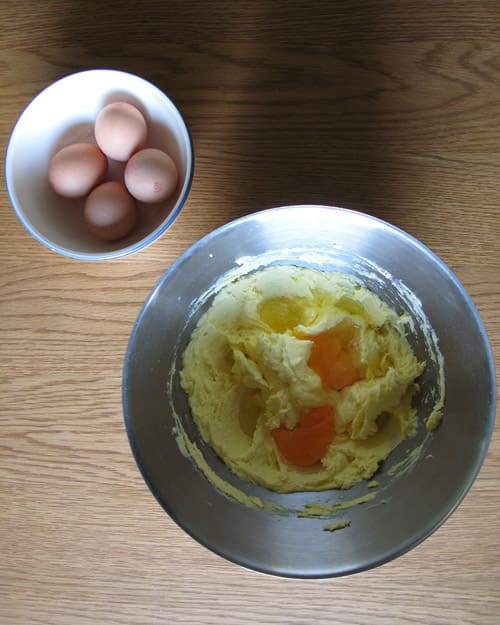
Start by mixing together 300g of butter with 300g of sugar and two teaspoons of vanilla extract. Once the sugar, butter and vanilla extract have fully combined, you can now add four eggs and mix. The mixture will look slightly gloopy.
Step 2
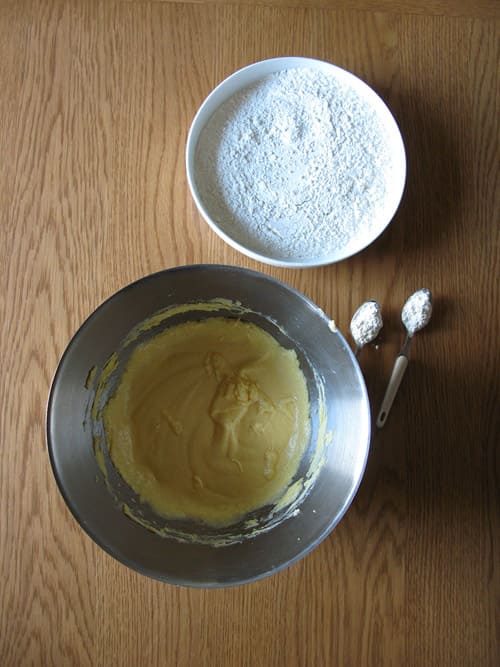
Now add 300g of self-raising flour and two tablespoons of baking powder and mix.
Step 3
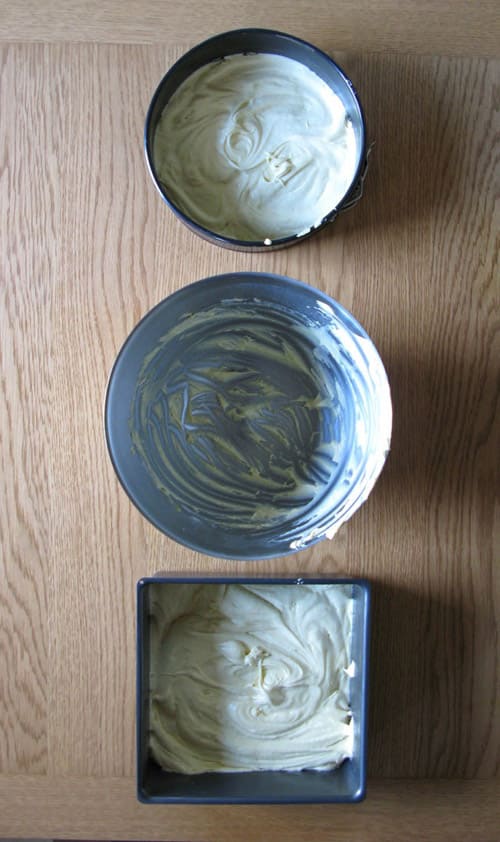
Grease your two 8-inch cake tins with butter and divide your batter between them. Place these into the oven for 30 minutes or until golden brown and the cake springs back when gently pressed.
Step 4
Remove the cakes from their tins and place on a wire rack or plate to cool for 30 minutes.
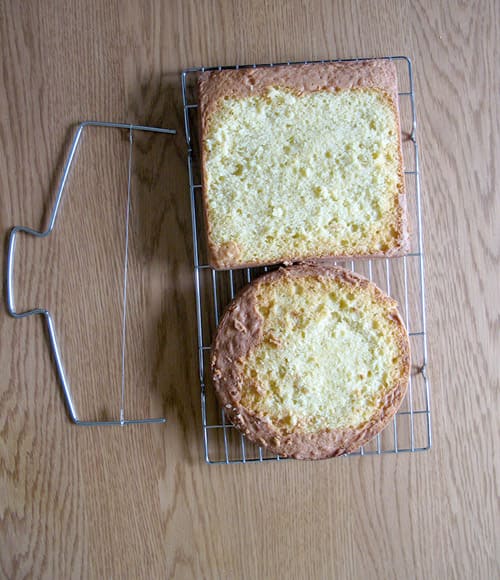
Repeat this process three times to ensure you have the correct number layers for your showstopper cake.
Using a knife or a cake leveller, you can slice any raised bits off your cakes to give you a straight, flat finish.
Step 5
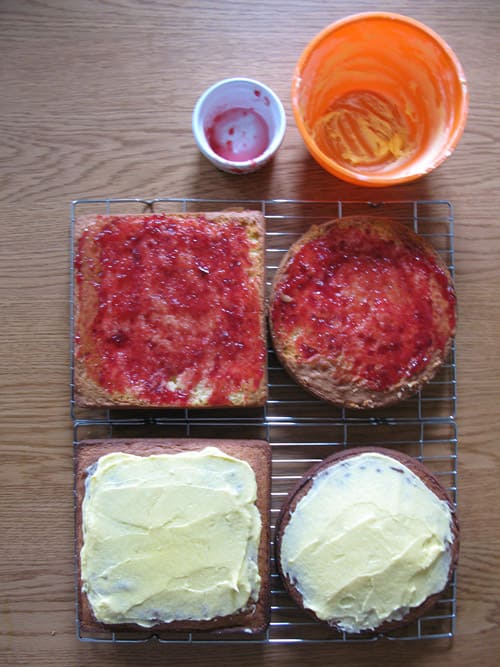
To make the buttercream filling whisk 160g of butter until it’s soft and fluffy. Then add 600g of icing sugar a little at a time until the buttercream is light and fluffy (you can add one tea spoon of vanilla extract if you wish to, however this can sometimes make the buttercream too sweet).
Spread the buttercream onto two of your square cakes and two of your round cakes. Add jam to one of your square cakes and one of your round cakes and push these, jam side down, onto the corresponding buttercream cakes. Add jam to the top of the original jam covered cake and top this with your last buttercream cake. You will now have a square cake and a round cake stacked three layers high.
Step 6
Now place your round cake onto a flat surface, using your tape measure mark a 4.5 inch square into your cake and then proceed to cut off the sides. Put this cake to one side and start to decorate your 8-inch square cake.

Step 7
Place your 8-inch square cake onto a stand or a flat board, cover the top with jam (this will make the icing stick) and put to one side.
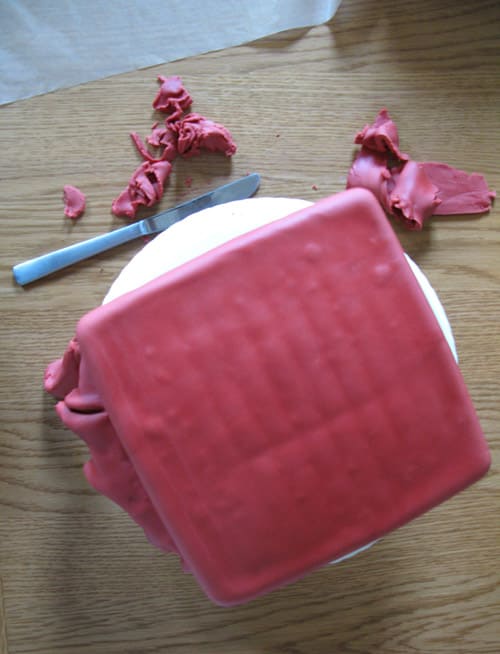
Start to massage your red icing on a non-stick surface until it all forms a ball and roll this out into a large flat circle roughly 2 cm high.
Wrap the top of your icing over your rolling pin and pull it up from the surface. Place the ready to roll icing over your cake, push it in to all the edges and smooth flat. Using a knife, chop off the excess icing.
Step 8
Massage your excess red icing to bring it back together and re-roll it into a flat circle roughly 2cm high. Using a knife cut two long strips, roughly one inch wide and 9 inches long and place these to one side.
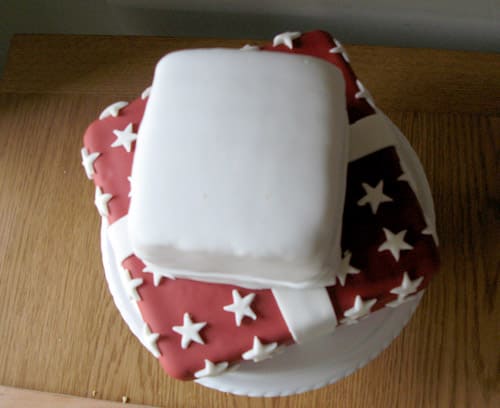
Step 9
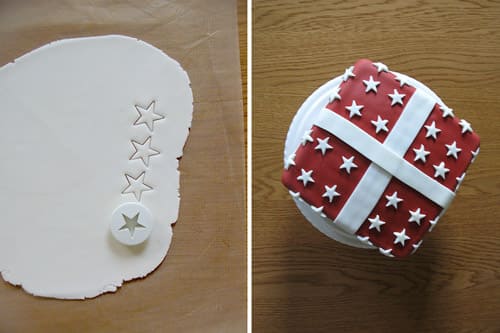
Massage your white icing and roll this out into a flat circle roughly 2cm high. Using a knife cut two long strips, roughly one inch wide and 16 inches long and place in a cross shape over your cake to form a ribbon. Using a star cutter, press out roughly 50 stars and stick these onto your red iced cake. If the stars don’t stick then simply apply some water to the back of them, this will form glue.
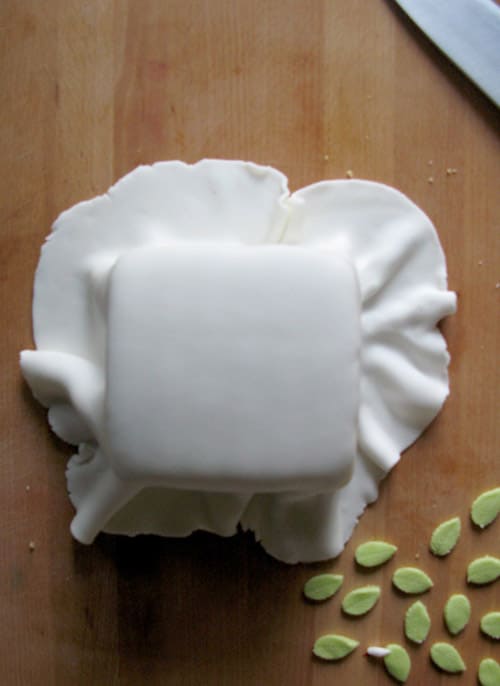
Step 10
Now massage the white icing to bring it back together and roll it out into a large flat circle roughly 2cm high. With the 4.5inch cake on a chopping board, repeat what you did with the red icing, placing the white icing over the top of your 4.5 inch cake. Cut off the excess and place your white cake on top of your red cake so the corners are line up with the white ribbon.
In the meantime roll out your green icing into a large flat circle roughly 2cm high and cut out 84 leaves using a leaf cutter.
Step 11
Take the two red strips that you cut previously and place these in a cross over your white cake. Roll out three half pea-sized red balls and stick these to your cake (again use water if required), then place three of your leaves next to your three red balls and repeat this process until you’ve covered the top cake.
Step 12
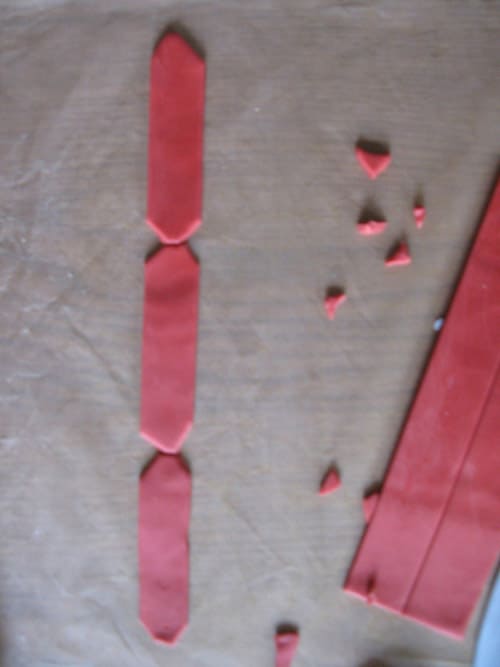
To finish simply massage your remaining red icing and roll into a large flat circle roughly 2cm high. Cut the icing into strips, roughly 3 inches long and one inch wide. Cut a small piece off each corner and join each of the cut sides together, repeat this process 16 times and layer these on top of the cake to form the finished ribbon.
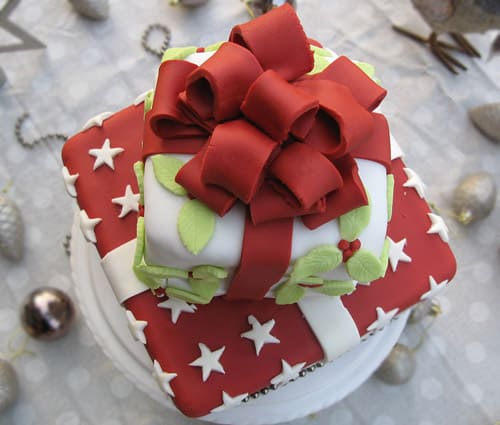
Voilà! I hope you enjoy making your Christmas Showstopper cake.
