Our site uses cookies to give you the best experience. or continue shopping if you're happy.
Accept & closeCaramel cream cake
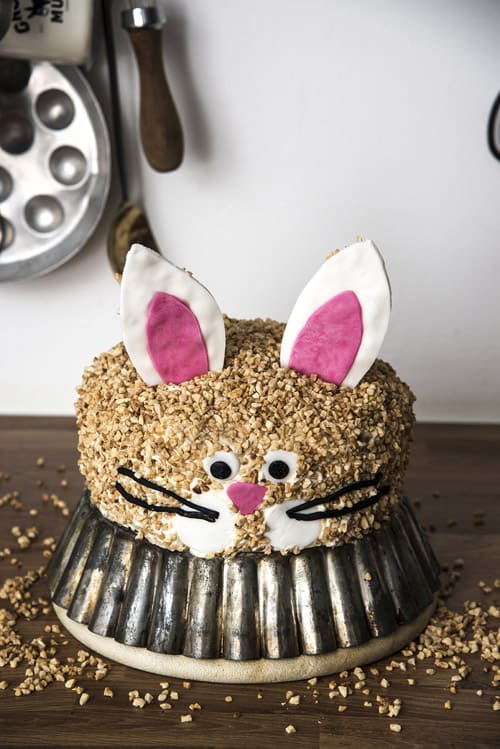
Wondering what to serve as a treat over Easter to your family and friends? Look no further than this Easter bunny caramel cream cake!
"Easter is a time where the family get together, and Spring sunshine finally warms up the day, what’s not to like?! That means we need something a little special and a little fun to celebrate with. And since Easter bunnies are THE thing (no, I have no idea how that came to be either!), what could be more suitable than a bunny cake to share with the entire family? Filled with caramel cream and covered in toasted, chopped almonds, it is equally appealing to adults as children. And with those cute ears, who can resist it? Whilst it might seem like a lot of effort at first glance, the recipe is actually quite straight forward and not very complicated at all. So, I hope you’ll give this one a go, I’m sure the kids will love it."
Here´s what you´ll need
Cake:
- 250g self raising flour
- 250g soft butter
- 250g caster sugar
- 4 eggs
Filling:
- 600ml double cream
- 300g sugar
- 80ml water
Decoration:
- 300g chopped almonds
- Sugar paste in white, pink and black
Here´s how it´s done
Step 1
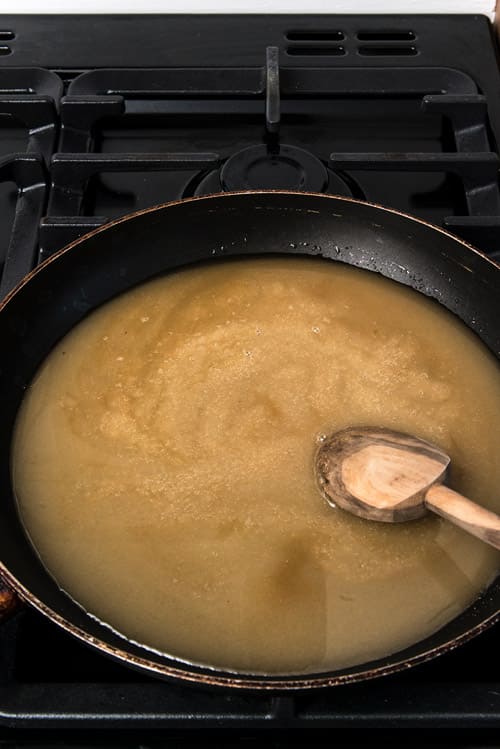
Put the sugar and water in a pan and bring to a boil over a medium heat stirring once to combine. Simmer until the caramel has reached an amber colour.
Step 2
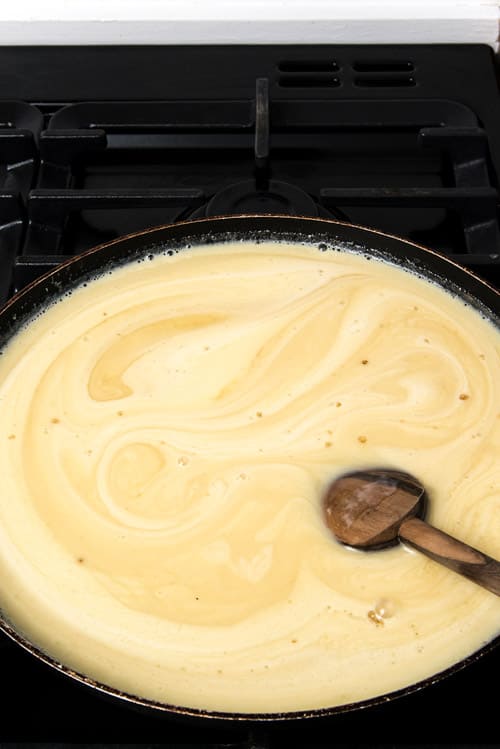
Take the pan off the heat and slowly add the cream. Put the pan back onto medium heat and stir to combine. Once combined, pour the cream into a bowl and leave to cool. Cover the cream to cool in the fridge over night.
Step 3
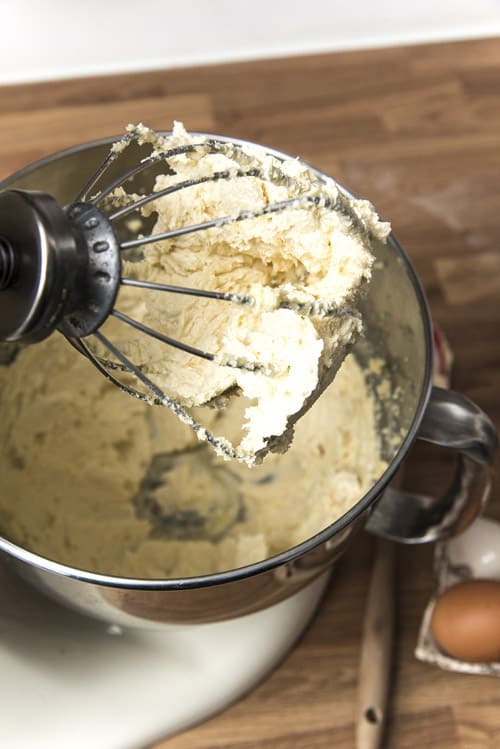
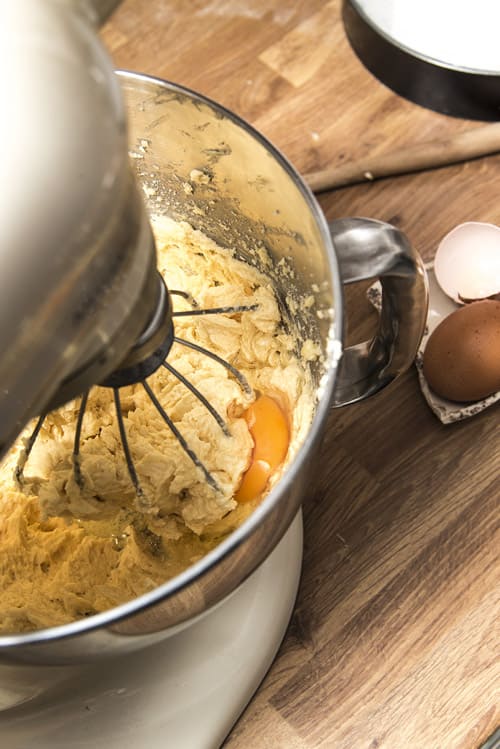
Next, make the cake. Preheat your oven to 180C. Grease two 18cm loose-bottom cake tins and line the sides with parchment paper. Whisk the butter and sugar in a stand mixer until pale and fluffy.
Step 4
Add the eggs, one by one, mixing after each addition.
Step 5
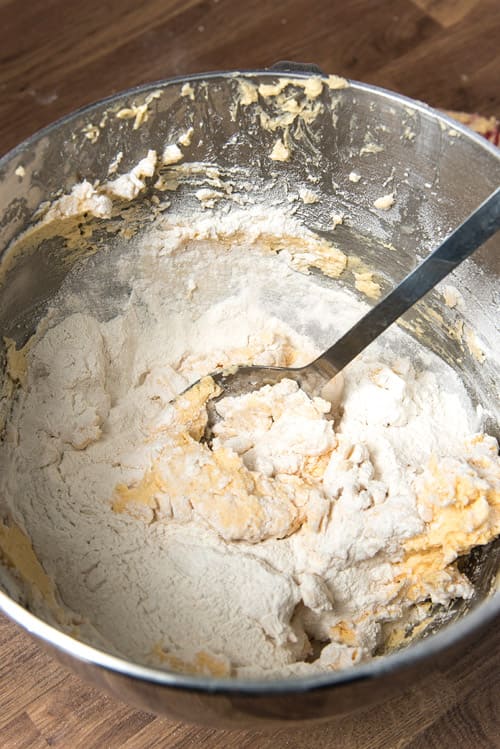
Sift the flour into the bowl and fold into the mix. Divide the mix into the two prepared tins. Bake for 30 minutes.
Step 6
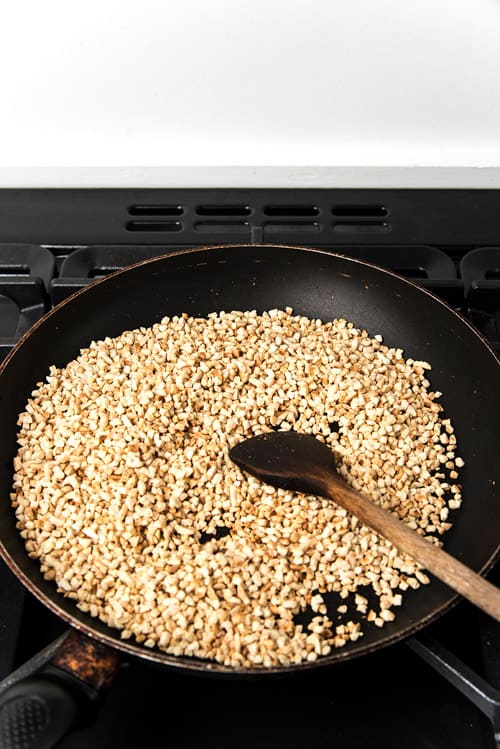
Whilst the cakes are baking, put all the chopped almonds into a large pan. Over a medium heat, toast the almonds until golden brown. Once the almonds are done, tip them onto a cold plate.
Step 7
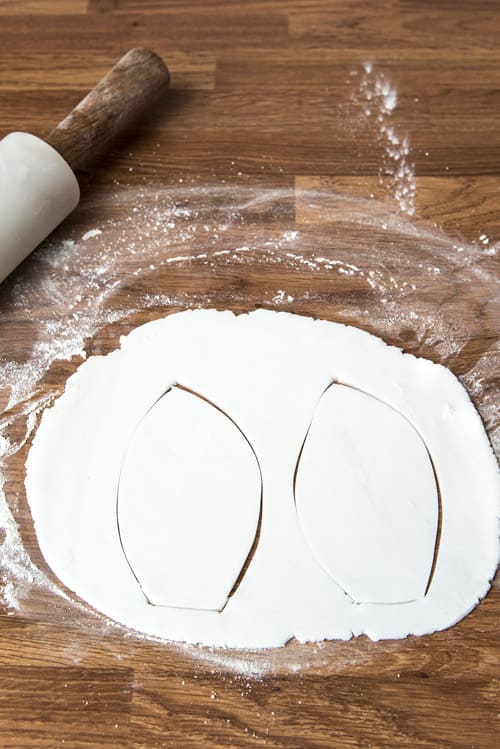
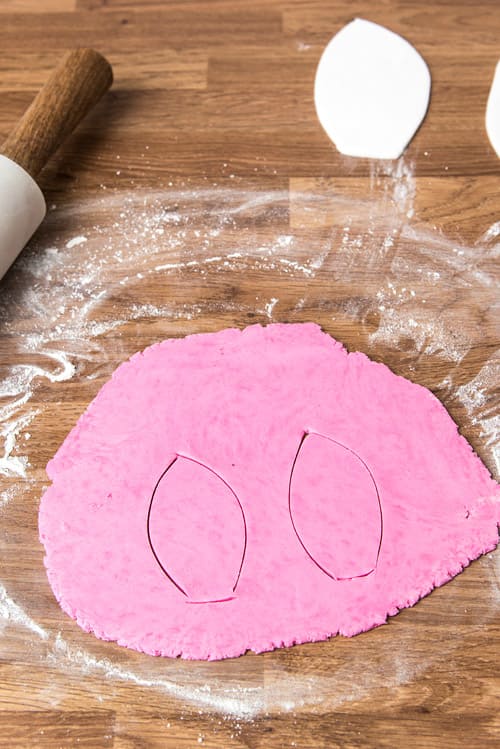
Roll out the white sugar paste to around 2mm thickness. If needed, use a little icing sugar to prevent the paste sticking to your worktop. Cut out two pointy ear shapes, around 10cm tall.
Step 8
Roll out the pink paste and cut out two smaller ear shapes.
Step 9
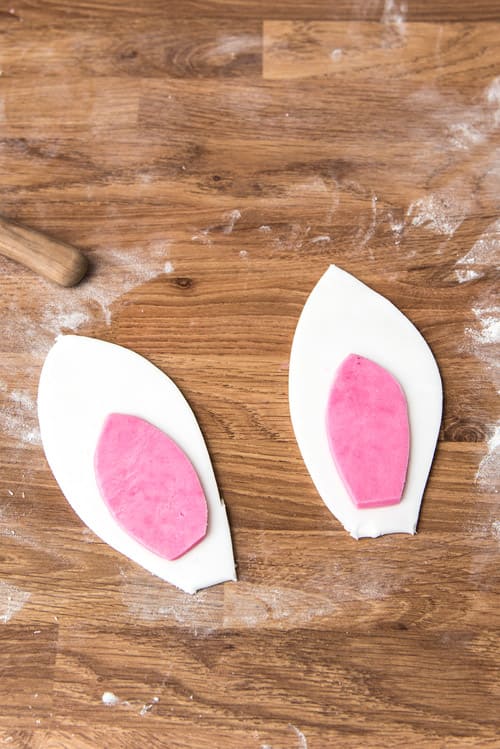
Dab a little water onto the pink shapes and “stick” them onto the white ones.
Step 10
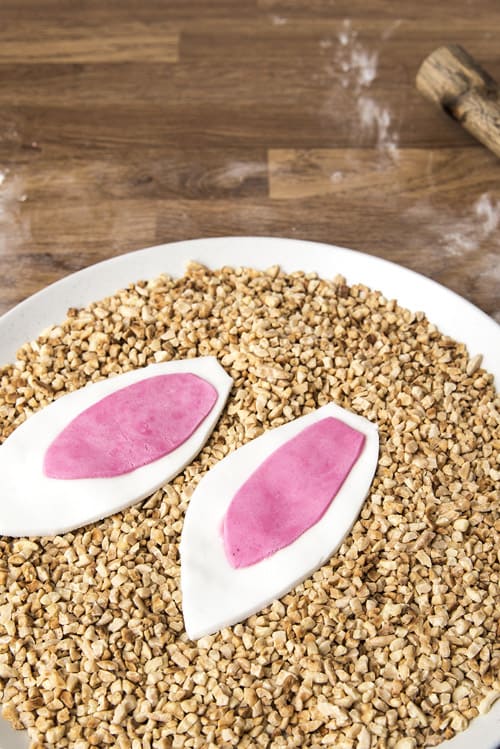
Dab a little water onto the back of the ears and lightly press into the toasted almonds. Now put the ears onto a baking tray. Pop into your oven and only turn on the oven light. Leave to dry for an hour.
Step 11
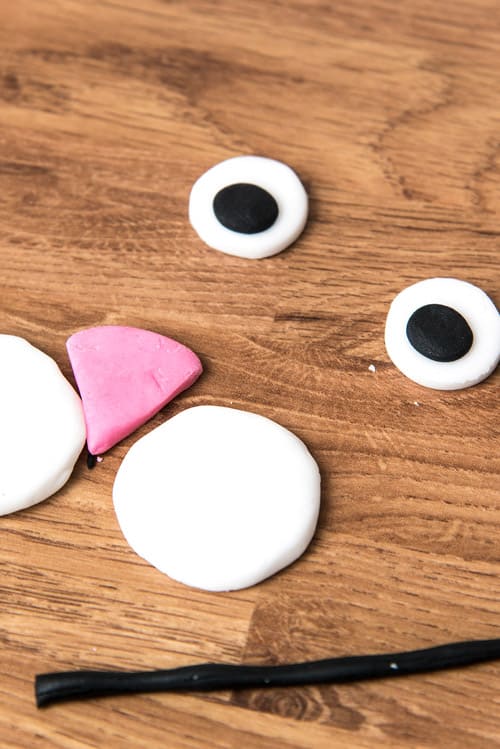
Cut out the eyes, nose and whiskers from sugar paste and leave to dry.
Step 12
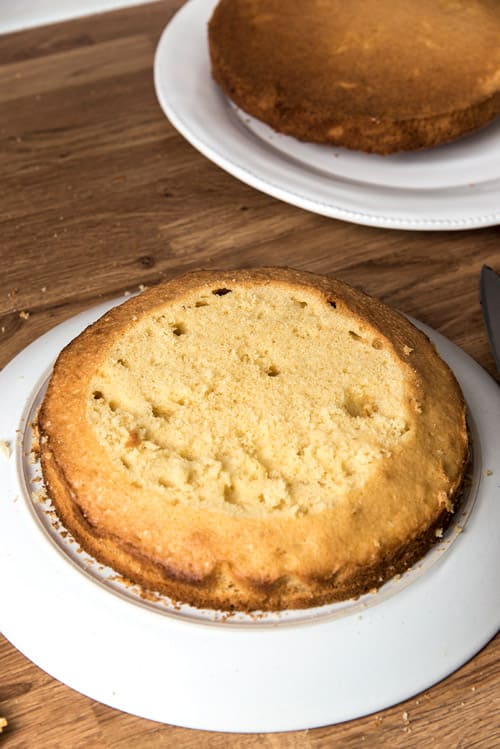
Once the cakes are baked, leave them to cool in the tins for ten minutes before resting them on a cake rack. Cut each cake lengthwise into half. Cut the top of one (not both!) of the cakes to level it.
Step 13
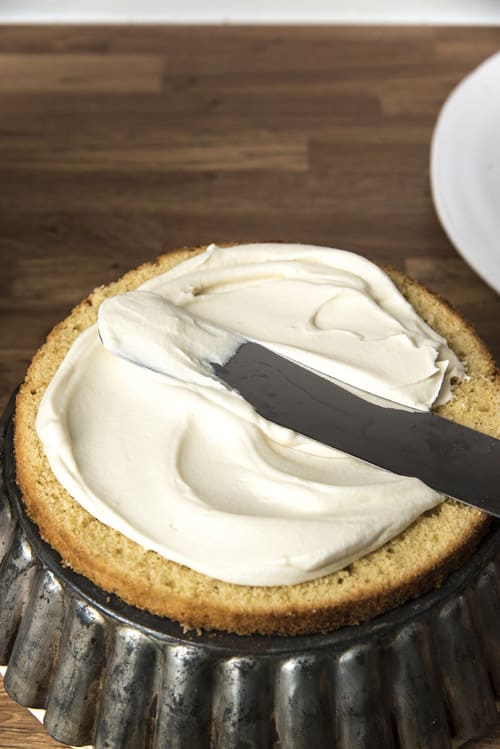
Whip the cold caramel cream. Now start assembling the cake by spreading cream onto the first layer, adding the second layer on top, spreading cream on that one etc.
Step 14
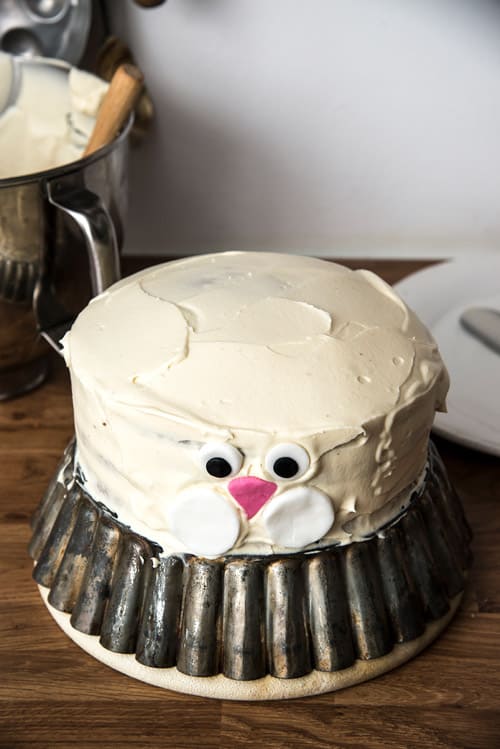
When you get to the fourth cake layer, cover the entire cake with cream. Place the “face” on the front of the cake slightly pressing into the cream.
Step 15
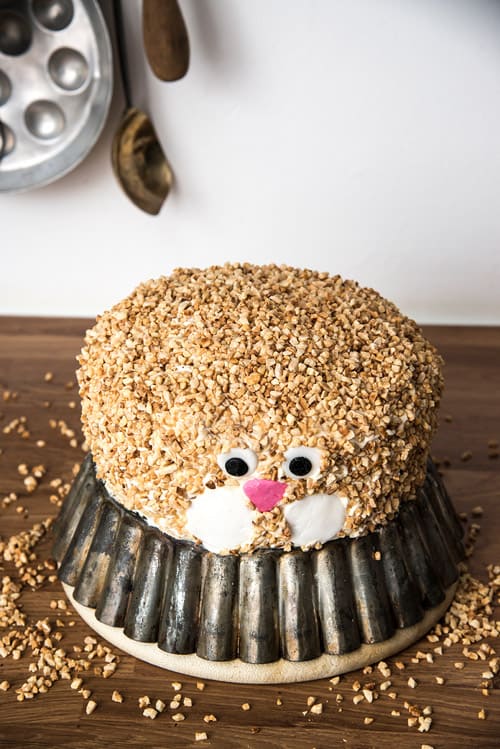
Now press the toasted almonds into the cream covering all of the cake.
Step 16
Take the ears out of the oven. Make two cuts in the top of the cake for the ears. Insert the ears into the top of the cake just so they securely stand up. If needed, place the cake in the fridge for an hour to firm up before serving.
