Our site uses cookies to give you the best experience. or continue shopping if you're happy.
Accept & closeHow to pair Beats headphones and earbuds with any device
Find out how to pair your Beats headphones with Android, iPhone, and Windows devices, plus sort out common issues for smooth, stress-free listening.

Struggling to get your Beats headphones or earbuds connected? Don’t worry, pairing them with your devices is easier than you think. From phones and tablets to laptops, we’ll guide you through the simple steps so you can start enjoying your favourite tunes in no time.
Activating pairing mode on your Beats
Pairing mode makes your Beats discoverable via Bluetooth.
For most Beats models (e.g., Studio, Powerbeats):
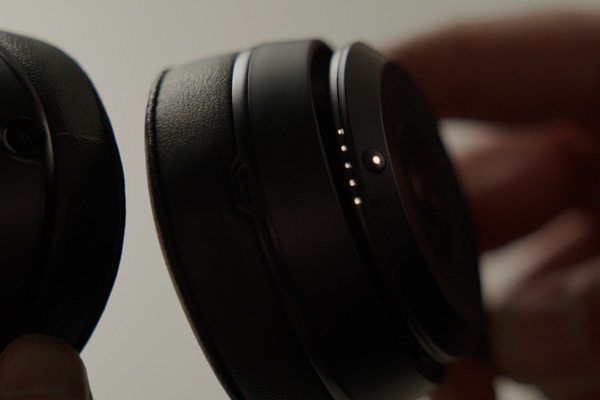
- Hold the power button until the LED indicator flashes.
For newer models (e.g., Beats Fit Pro):
- Open the charging case with earbuds inside.
- Press the button on the back of the case until the LED flashes.
Connecting your Beats
Setting up your Beats is quick and hassle-free once you know the steps. We’ll show you exactly how to pair them with your devices so you can start enjoying crisp, wireless sound straight away.
Pairing your phone or tablet:
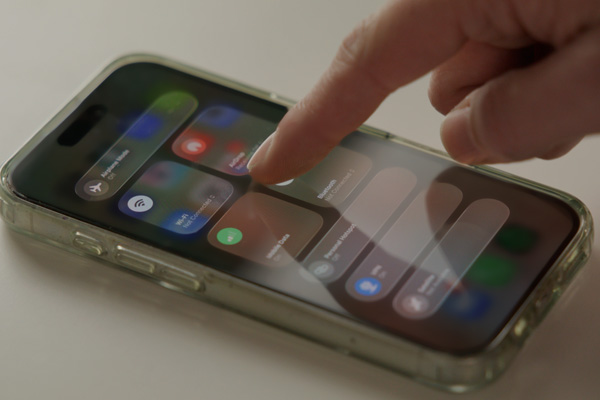
1. Turn on Bluetooth
- iPhone or iPad: Head to Settings and switch Bluetooth on.
- Android: Open Settings, then tap Connections or Bluetooth and turn it on.
2. Power up your Beats
Press and hold the power button until they enter pairing mode (light will flash).
3. Find your Beats
- iPhone or iPad: Go to Settings > Bluetooth and look under Other Devices.
- Android: In the Bluetooth menu, look for your Beats under Available Devices.
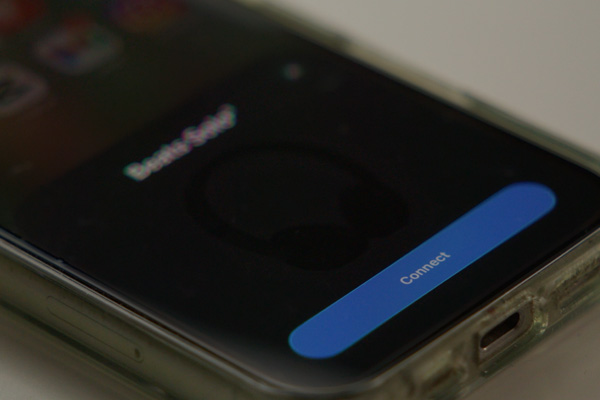
4. Tap to connect
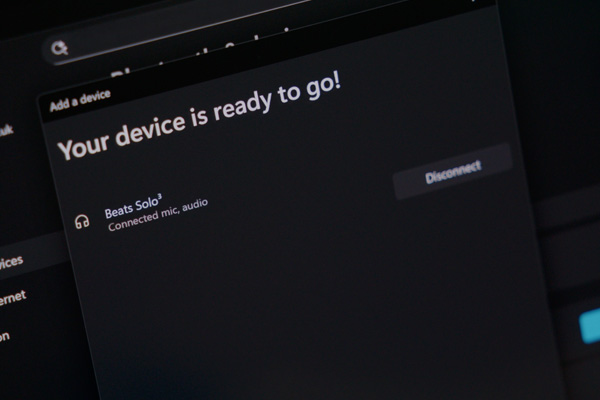
Select your Beats from the list and they will automatically connect.
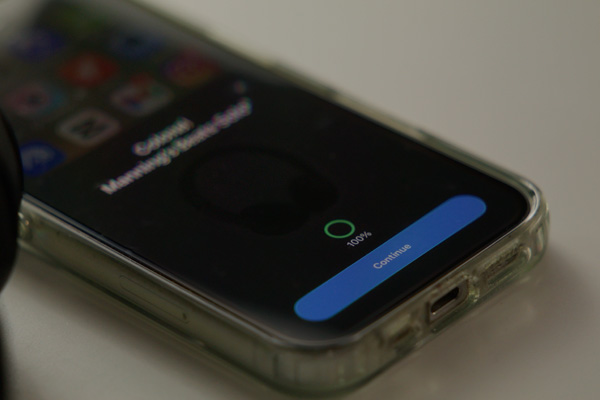
Enjoy auto-reconnect
Next time you power them on, they’ll connect automatically - no extra steps needed.
Pairing your computer:
1. Power up and pair mode
Switch on your Beats and hold the power button until the light flashes.
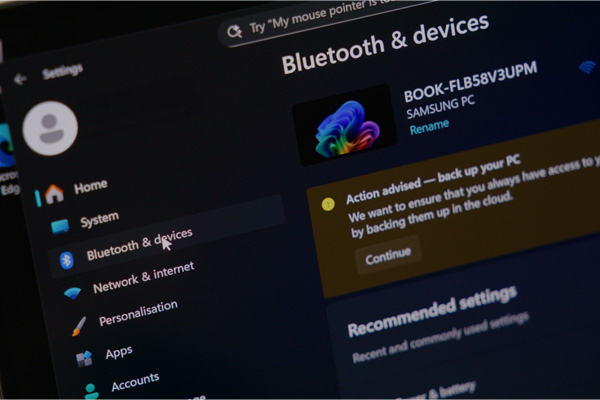
2. Open Bluetooth settings
- Windows PC: Head to Settings, then Devices, then Bluetooth & other devices.
- Apple Mac: Click the Apple menu, then go to System Preferences > Bluetooth.
3. Check Bluetooth is on
- Windows PC: Bluetooth should already be on in the settings menu.
- Apple Mac: If it’s off, click the toggle to turn it on.
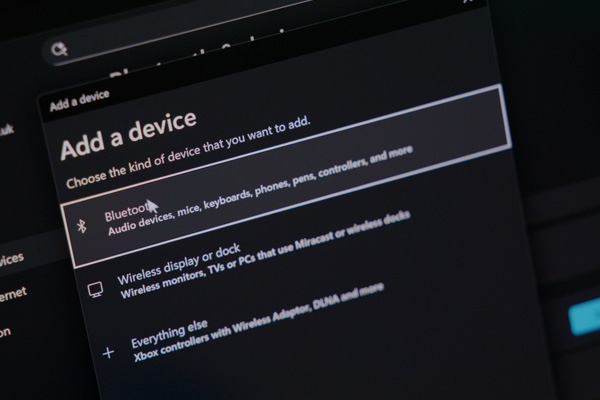
4. Connect your Beats
- Windows PC: Click Add Bluetooth or other device, choose Bluetooth, then select your Beats and hit Connect.
- Apple Mac: Find your Beats in the list, click Connect, and you’re good to go.
Troubleshooting tips
Having trouble getting your Beats to connect? Don’t panic. Most issues are easy to fix with a few quick checks. Follow these steps to get back to your music in no time.

Start from the beginning
Make sure Bluetooth is switched on. Then, confirm your Beats are in pairing mode. If things still aren't working, turn Bluetooth off and back on again. This refreshes the connection and often solves minor glitches.

Stay close
Keep your Beats within 10 metres of your device at all times for the best connection possible. Moving too far away can weaken the signal and cause pairing problems.

Clear the way
Bluetooth works best without obstacles. Remove any physical barriers like walls or furniture, and keep other electronics that might interfere, such as microwaves or Wi-Fi routers, out of the way.

Reset your Beats
- Headphones – Hold the power and volume down buttons for about 10 seconds until the LED flashes.
- Earbuds – Press and hold the system button for around 15 seconds until the LED flashes.

Update your device
Check your phone or tablet for software updates. Running the latest version ensures full compatibility with your Beats.

Start fresh
Go to Bluetooth settings, select your Beats, and tap Forget This Device. Then pair them again as if they were new. This usually clears up any issues.
